
Inspections & Walkthroughs
The Minnesota Framing Inspection: What Homeowners Should Expect
Understand Minnesota framing inspections, rough-in coordination, correction notices, and the records homeowners should keep before work is covered.
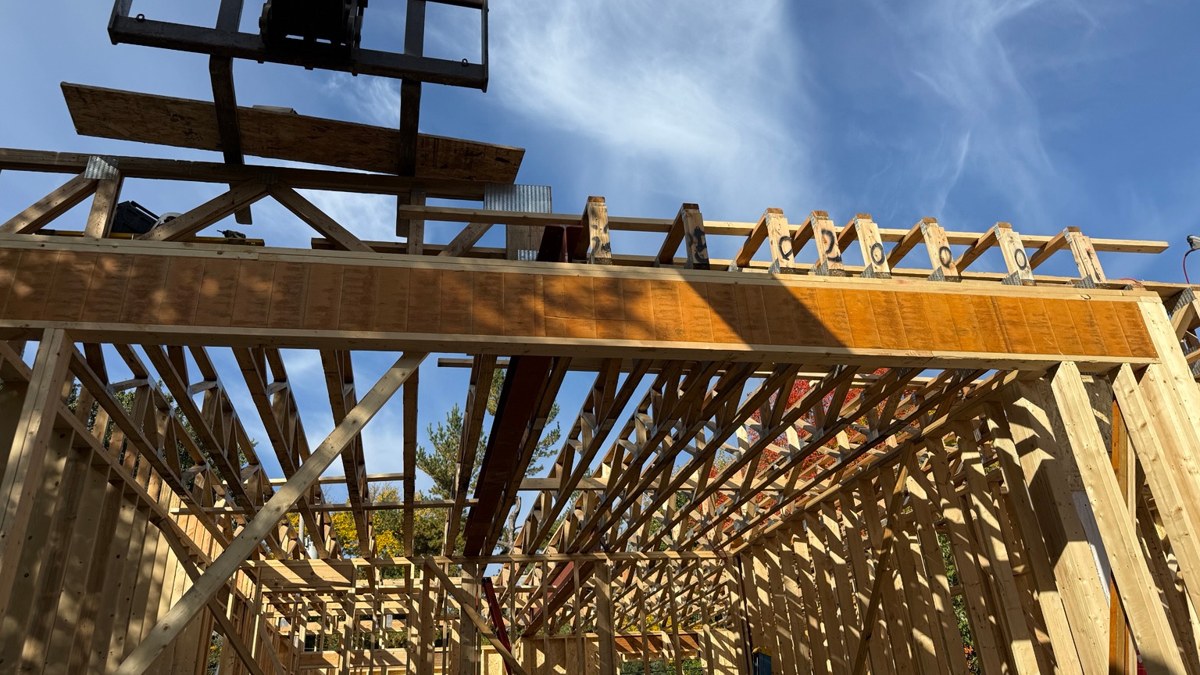
A framing inspection arrives at an interesting moment: the house looks recognizable, but much of its working anatomy is still visible. Studs, beams, connections, pipes, and wiring have not yet disappeared behind finishes. That visibility is the point.
For a homeowner, the most useful preparation is understanding who schedules the inspection, what needs to be ready, and how the result will be recorded. You should not have to chase a handwritten note through three pickup trucks to learn whether the next trade can start.
Confirm the project-specific sequence
Minnesota’s building administration rules establish an inspection process, including approval before work proceeds beyond an inspection point. The building official identifies required inspections and provides the procedures for requesting them. Your permit and local department’s instructions are the working checklist for your job.
The rules place plumbing, mechanical, and electrical rough inspections before the framing inspection, and require the relevant framing, bracing, and other listed work to be in place. That makes coordination important. A house can look framed while still waiting for a rough-in approval or an unresolved detail.
Ask the general contractor to explain the sequence at the beginning rather than on the day insulation is due. Additions and remodeling may involve conditions that differ from a straightforward new home.
Expect the inspector to look at systems, not just studs
The Minnesota Department of Labor and Industry’s educational new-construction inspection guide includes load paths, beams and headers, bearing, wall bracing, roof trusses, floor framing, and related construction details. It also identifies items such as openings, stairs, flashing, and weather protection in the framing-stage review.
This helps explain why an inspection can involve more than the work people casually call “framing.” A structural member may be correct while an adjoining detail still needs attention. The inspection guide is educational and not a promise that every project has an identical checklist.
As a customer, ask which issues require action by the framer and which belong to another trade. A clear assignment gets corrections completed faster than a general instruction to “fix the framing.”
Keep the right information available
The project team should have the current approved documents and any relevant revisions available through the process required by the local authority. Product-specific information may also be needed for engineered members, trusses, connectors, or approved repairs.
You can help by keeping late design requests out of informal side conversations. If you asked for a wider opening or a changed ceiling, make sure the project lead knows and that the change has followed the required review process. The inspector cannot evaluate a verbal idea that never reached the drawings.
Useful questions before the visit include:
- Who is responsible for requesting this inspection?
- Which earlier approvals are required, and are they recorded?
- Are the current plans and accepted revisions available?
- Are any engineered repairs or substitutions awaiting documentation?
- What work must remain exposed until approval?
Treat corrections as a closed-loop task
A correction notice is a list to resolve, not a useful place to start guessing at intent. Request a copy or a clear summary. Each item should have a responsible party, an agreed correction, and a way to verify completion.
Some questions can be answered by the contractor providing missing documentation. Others may require physical work, a designer’s detail, or another visit. Ask which applies before assuming the schedule impact.
Minnesota’s rules do not allow noncomplying work to be concealed before authorization from the building official. A promise that somebody will remember later is not a substitute for clearing the item while access remains available.
Know what an approval does and does not mean
The official inspection is a code-compliance checkpoint. It does not replace your review of the contracted scope or settle every finish preference. Cabinet backing, a television location, or a requested niche can still deserve attention even if they are not the issue on the inspection report.
Keep the two conversations separate: one confirms required approvals; the other confirms that the house is being built as agreed. That avoids asking an inspector to referee a design preference or expecting a customer walkthrough to replace an inspection.
Keep a short, useful record
Retain the inspection result, any correction list, relevant accepted revisions, and the confirmation that open items were cleared. Ask what approval is needed before insulation or other concealment and who will release that work.
A good inspection process ends with everyone understanding the next step. The house moves forward because the requirements have been met and documented, not because the next truck happens to be in the driveway.
Sources behind this guide
- Minnesota Rules, part 1300.0210: Inspections, current official text reviewed October 2026.
- Minnesota Department of Labor and Industry: Residential New Construction Inspection Guide, educational checklist.
- Minnesota Department of Labor and Industry: 2020 Minnesota State Building Codes, current code listing.