True
Square, straight and cut to the plan.


Residential & CommercialMinnesota Wood Framing Services
A clear plan. A sound frame.A better starting point for the next trade.
Our standard, every wall
Square, straight and cut to the plan.
Walls stand straight up and down.
Plates and floors sit flat.
Checked before the next crew walks on.
From plan to next trade
Whether you coordinate the job or are building your own property, start with the scope, the drawings and the questions that matter.
Plan revisions, deliveries, access and handoff details belong in one conversation.
Plan the framing scope →Know what you will see on site, what to ask, and why a frame is more than straight-looking lumber.
Understand framing day →Confirm the current plans, key dimensions and intended openings before the frame takes shape.
Coordinate members, connections and trade routes with the project’s drawings and product requirements.
Review alignment, unresolved details and required inspections before the work is covered.
Clarify remaining items, access and readiness so the following trades know what comes next.
Told by the saw: 66 seconds
The boy who once learned beside his grandfather now raises the ridge in his memory.
For builders
Framing is the skeleton every trade after us inherits. If it's off, everyone downstream pays for it.
For homeowners
Start with these six essentials, then explore 26 practical guides to framing in Minnesota. Visit the framing guide.
The idea
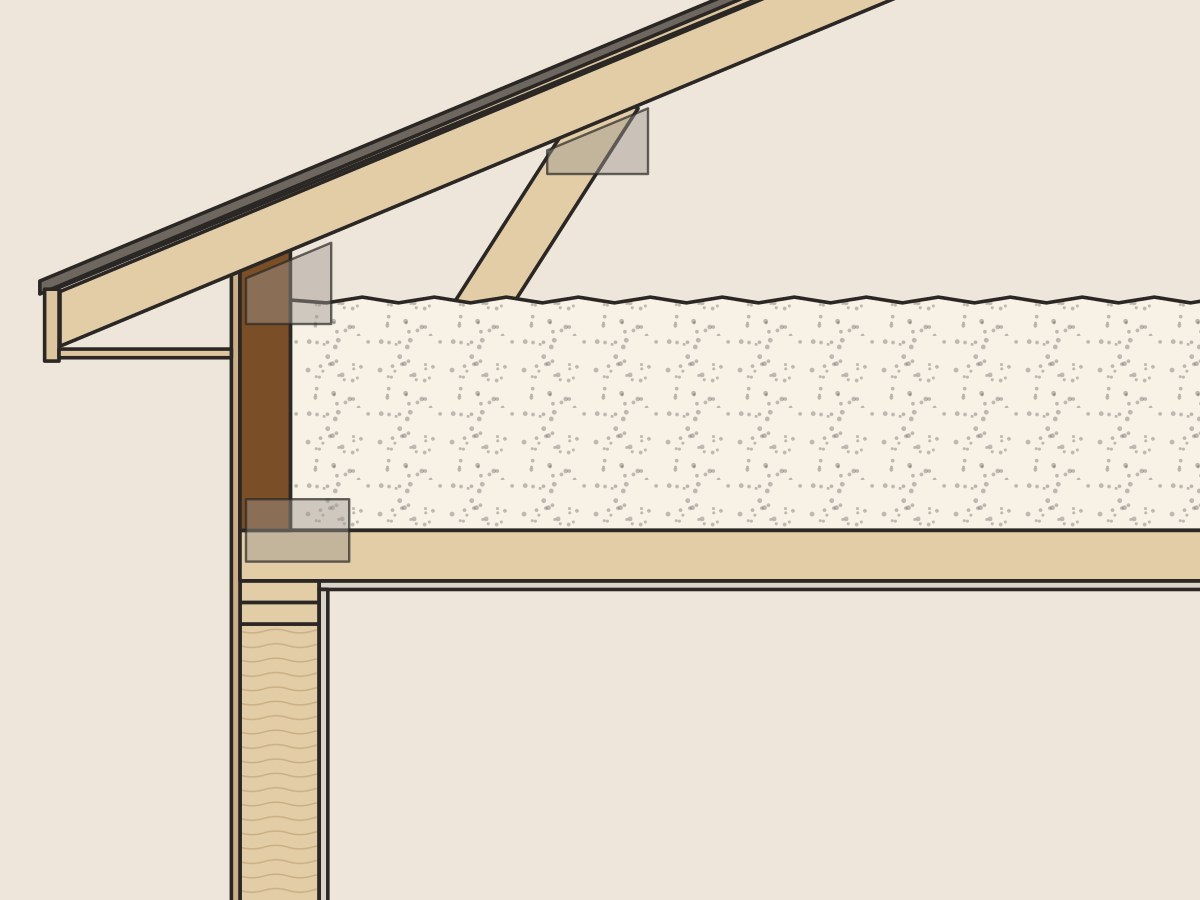
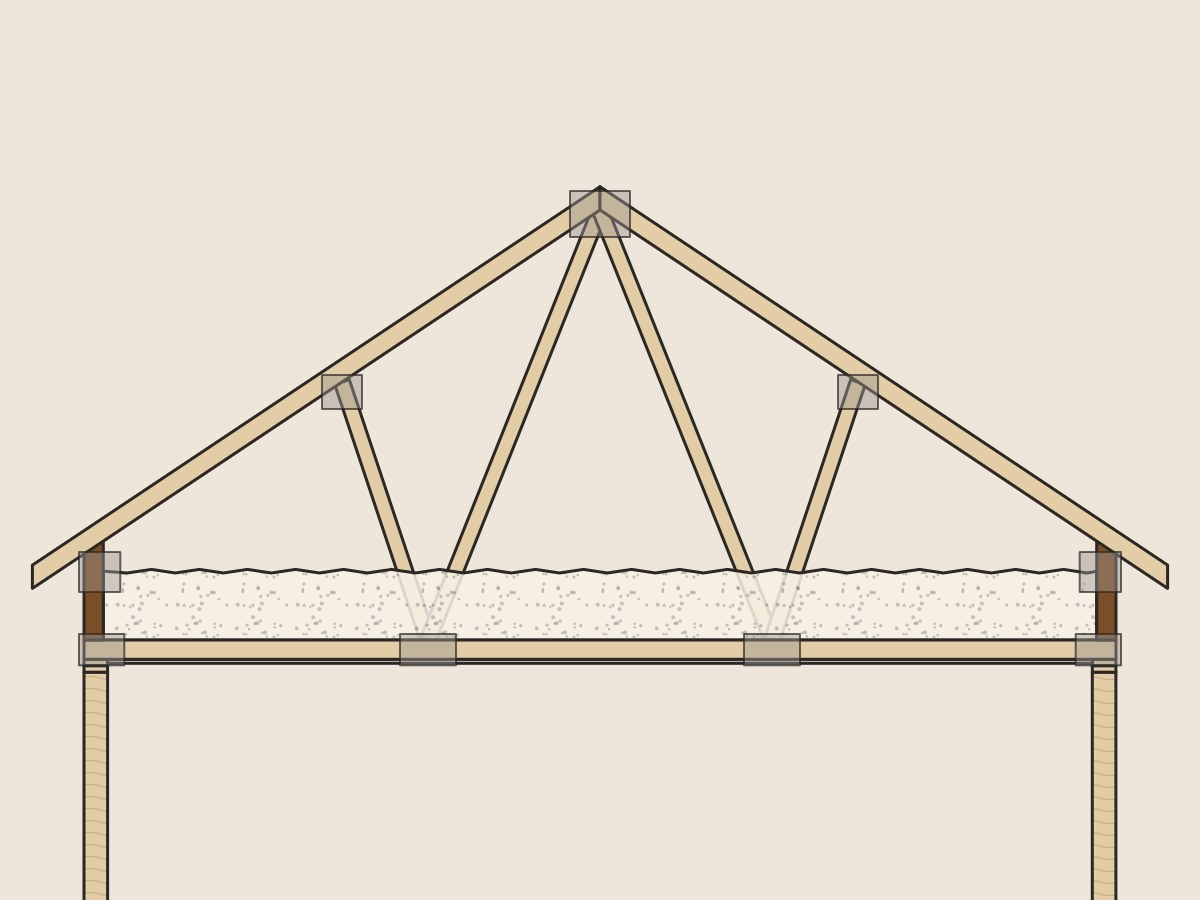
Lifting the roof framing where it sits on the outside wall, so there's room for full-depth insulation right out to the edge of the attic.
The product
Roof trusses built taller at the wall, so full-depth attic insulation reaches the outer edge, which helps prevent ice dams and cold edges along your ceilings.
The wall
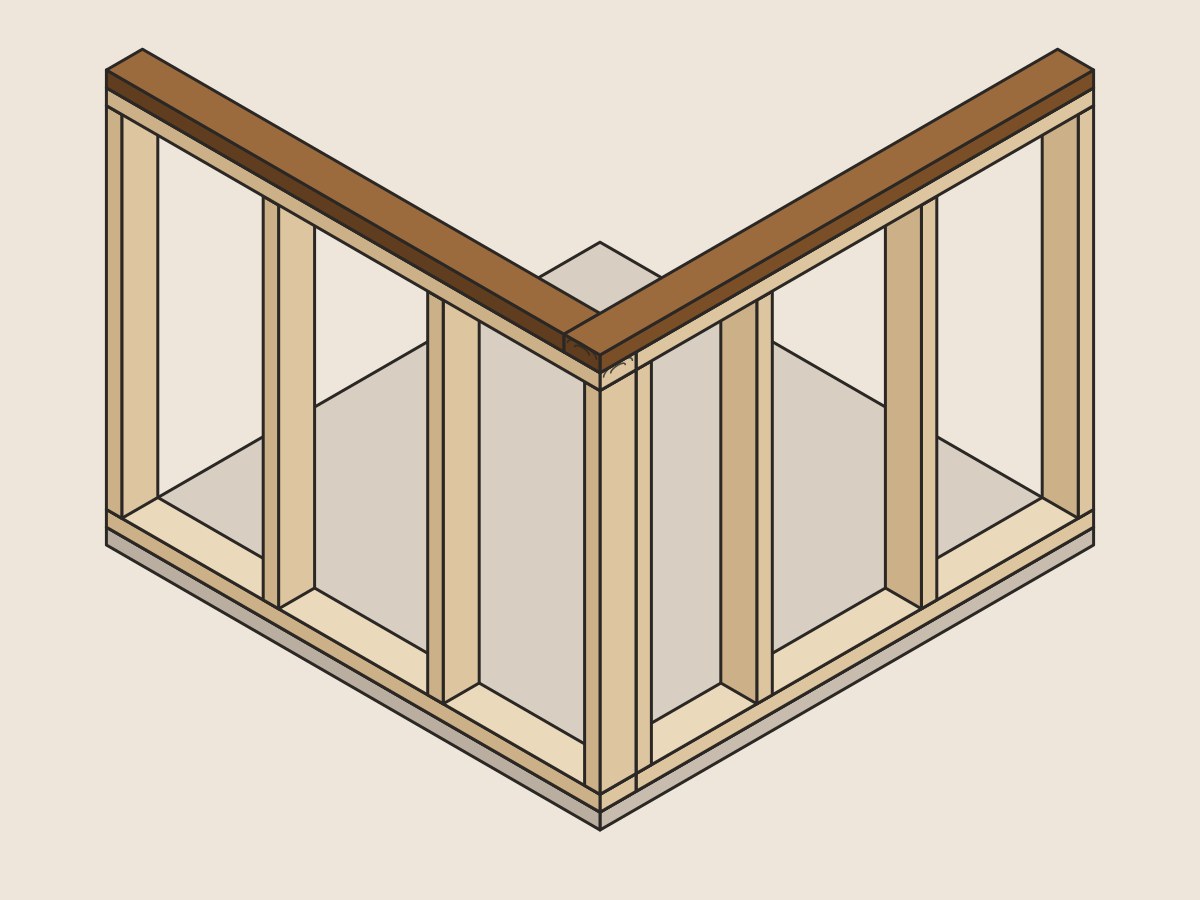
Two 2x boards stacked along the top of a wall that tie the walls together at the corners and help carry the load from above.
The parts
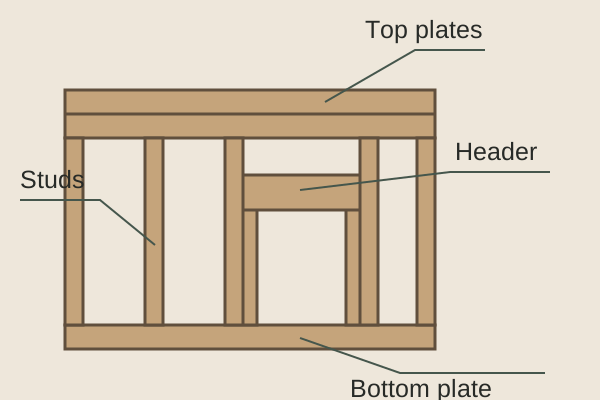
Studs are the vertical members; plates connect them at the top and bottom. A header spans an opening. This simplified wall diagram identifies parts, not an engineered framing plan.
The material
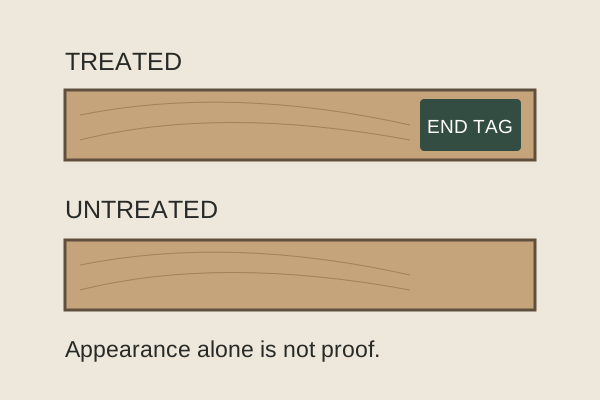
Preservative-treated lumber is selected for specified exposure conditions; untreated lumber has no added preservative treatment. Check the end tag for the treatment and intended use. Color alone does not prove treatment or suitability.
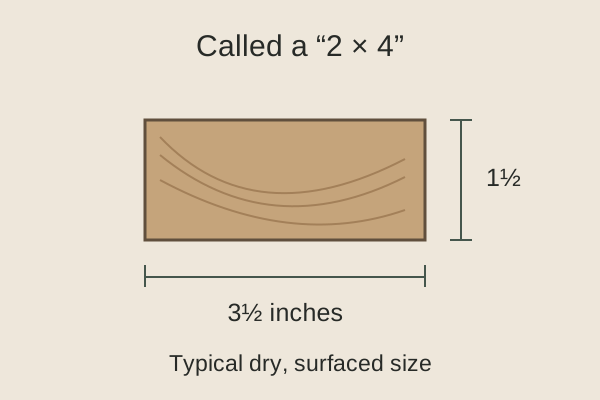
The measurement
A “2 × 4” is a nominal name. Common dry, surfaced lumber measures 1½ × 3½ inches. Actual dimensions vary with the product, surfacing and moisture condition—check the material specification.
The journey
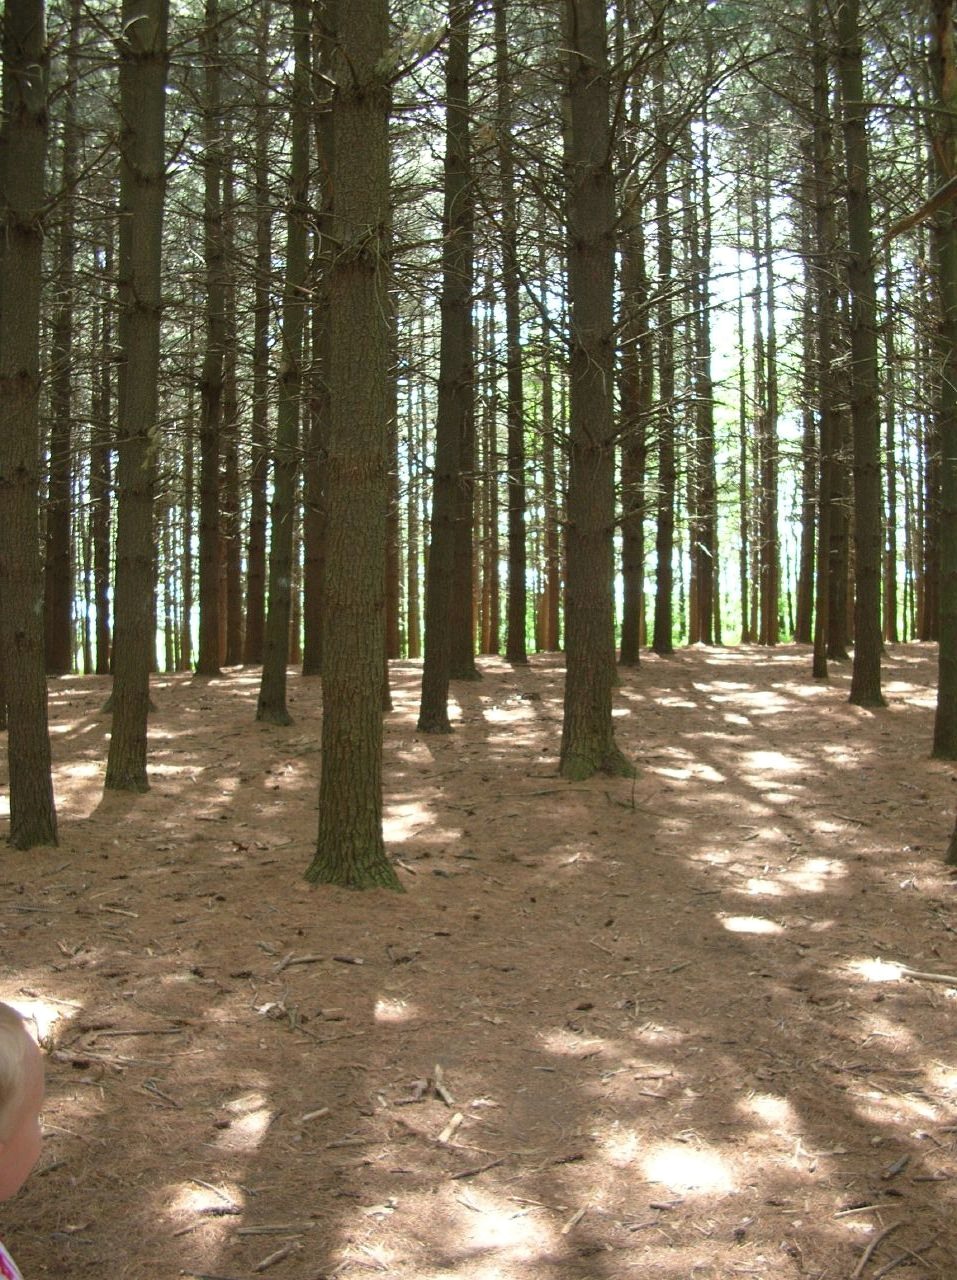
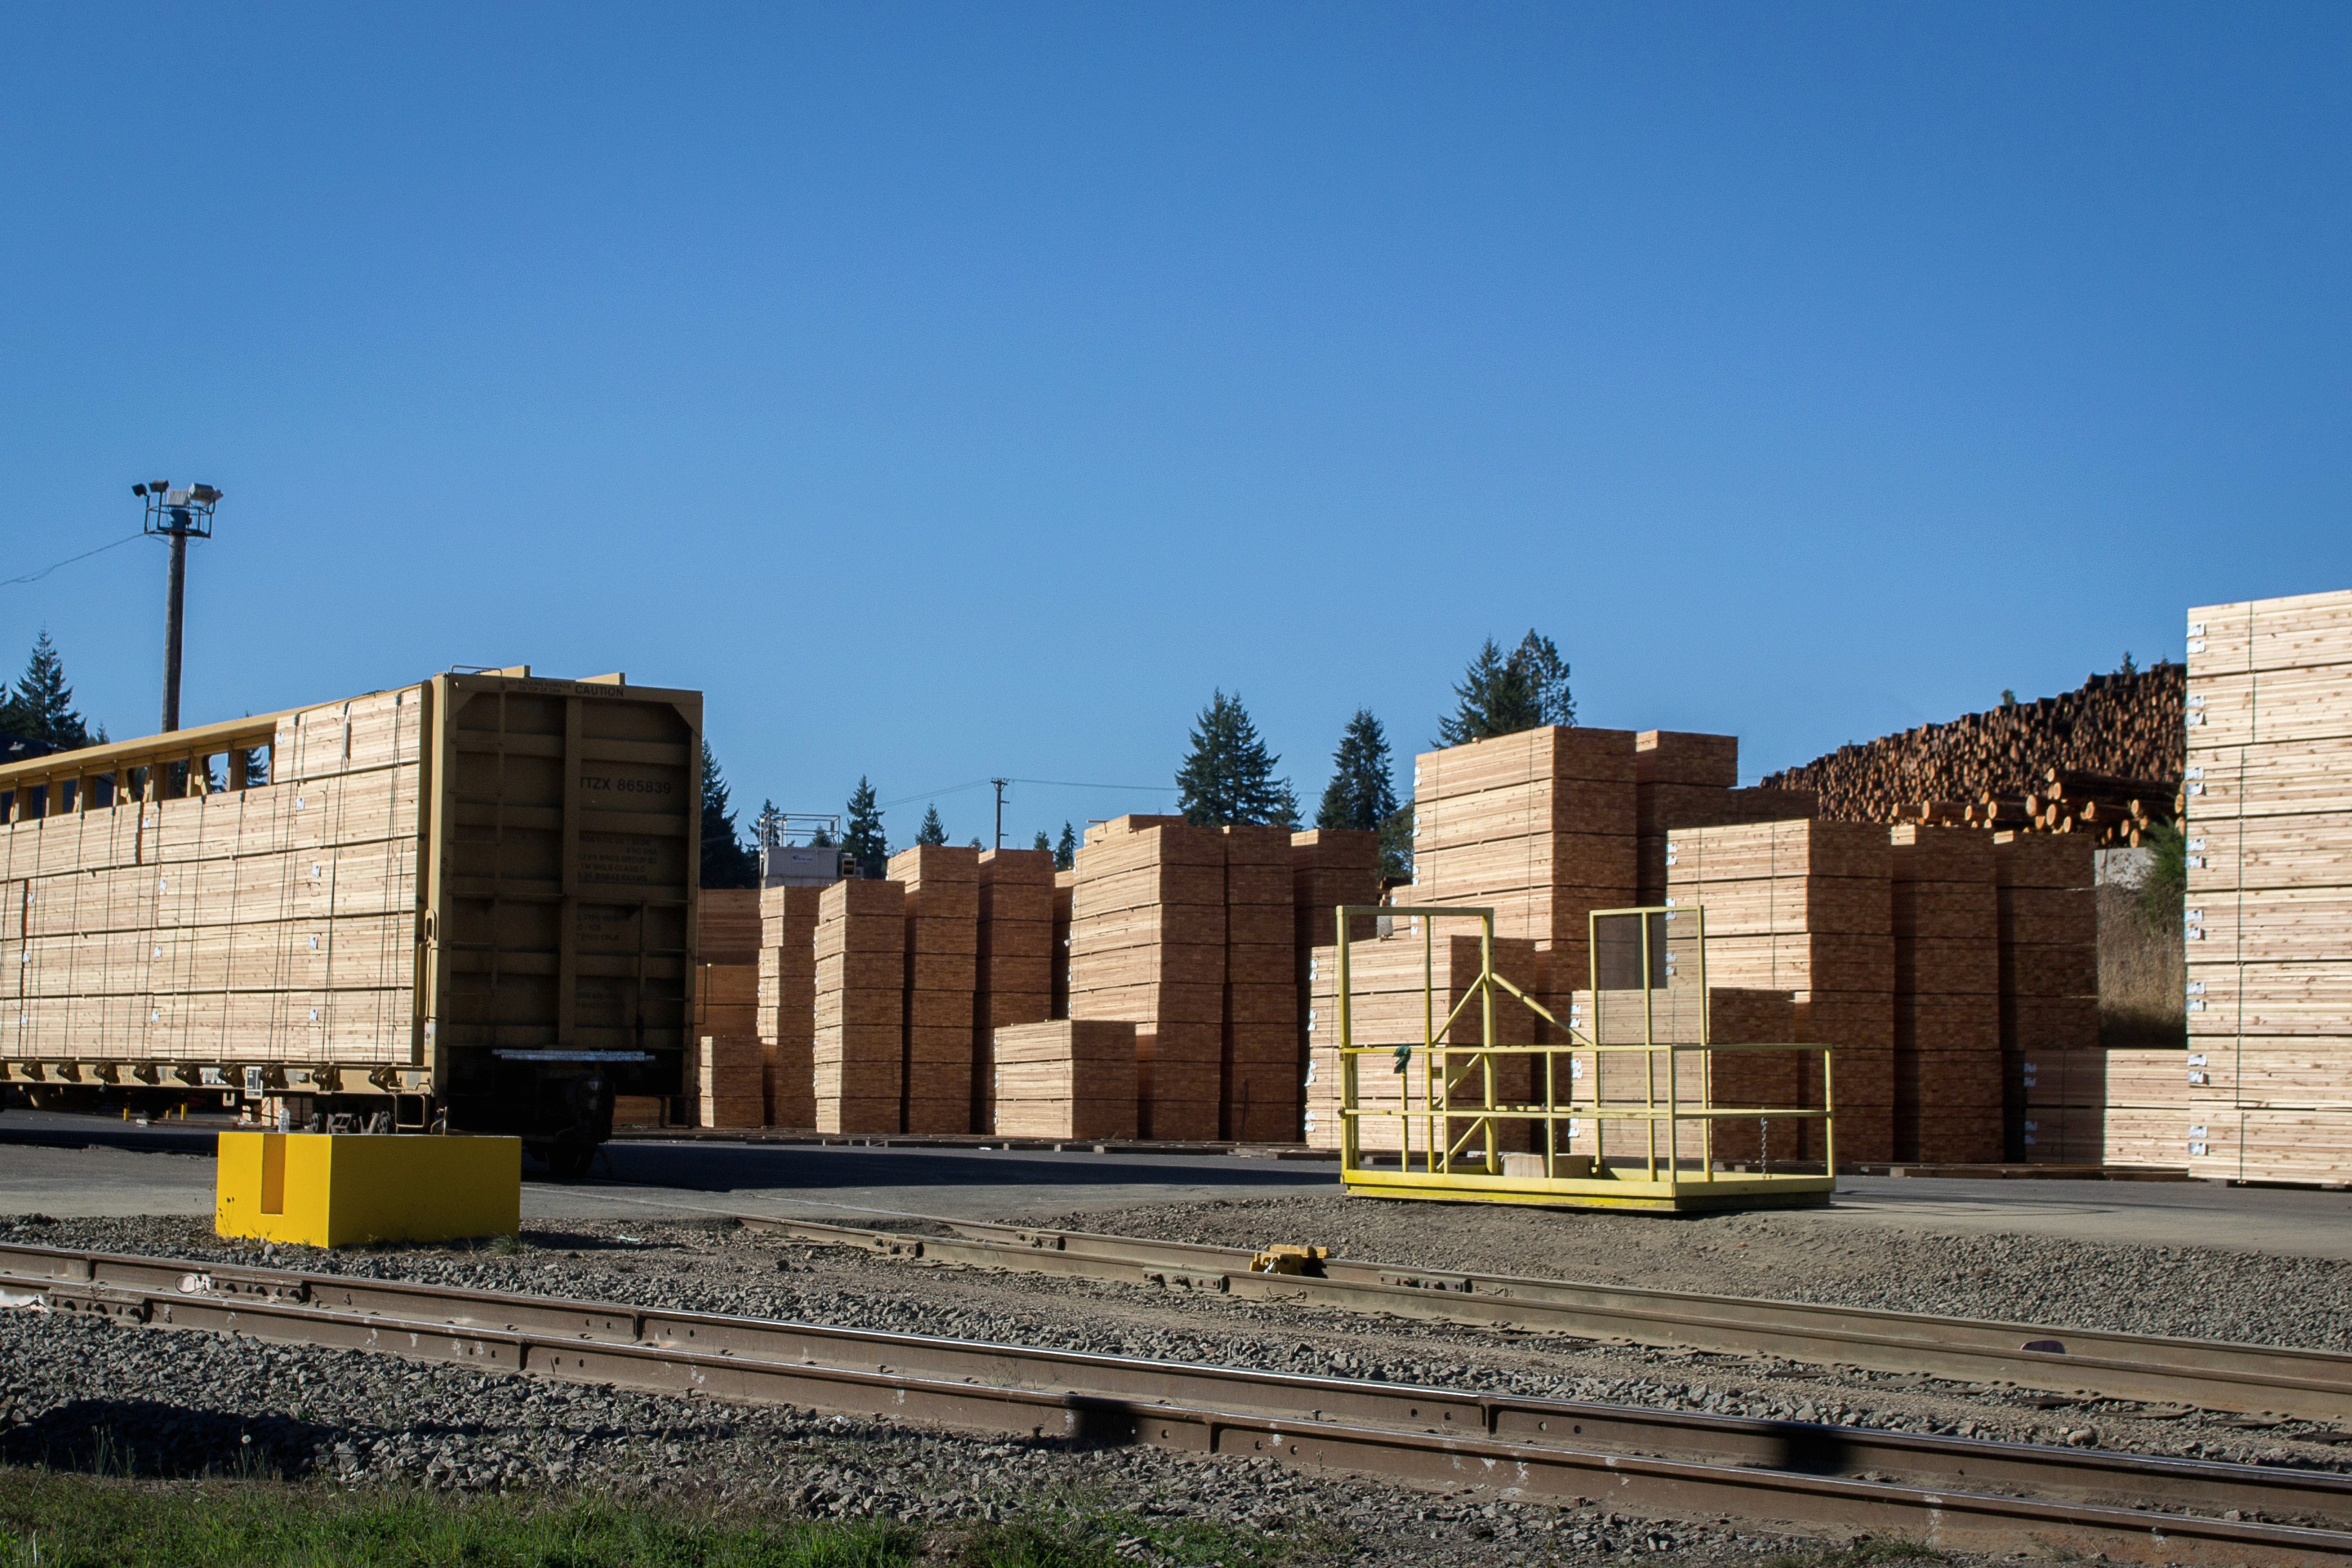
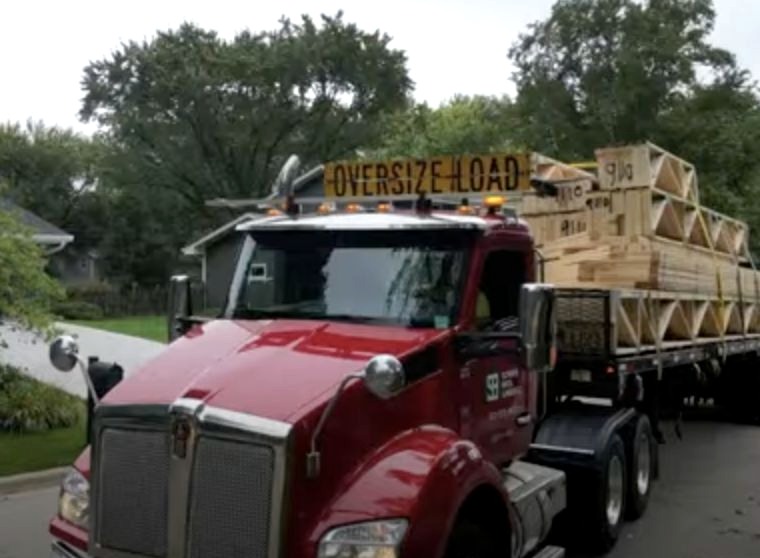
Forest and mill photographs illustrate the wider timber industry; they do not depict Timberline operations or suppliers. Image acknowledgments
Built to last
Straight walls and a clean roofline are the visible part. A durable frame also depends on the decisions, connections and protected materials behind them. Here is what those details mean for the home you are building.
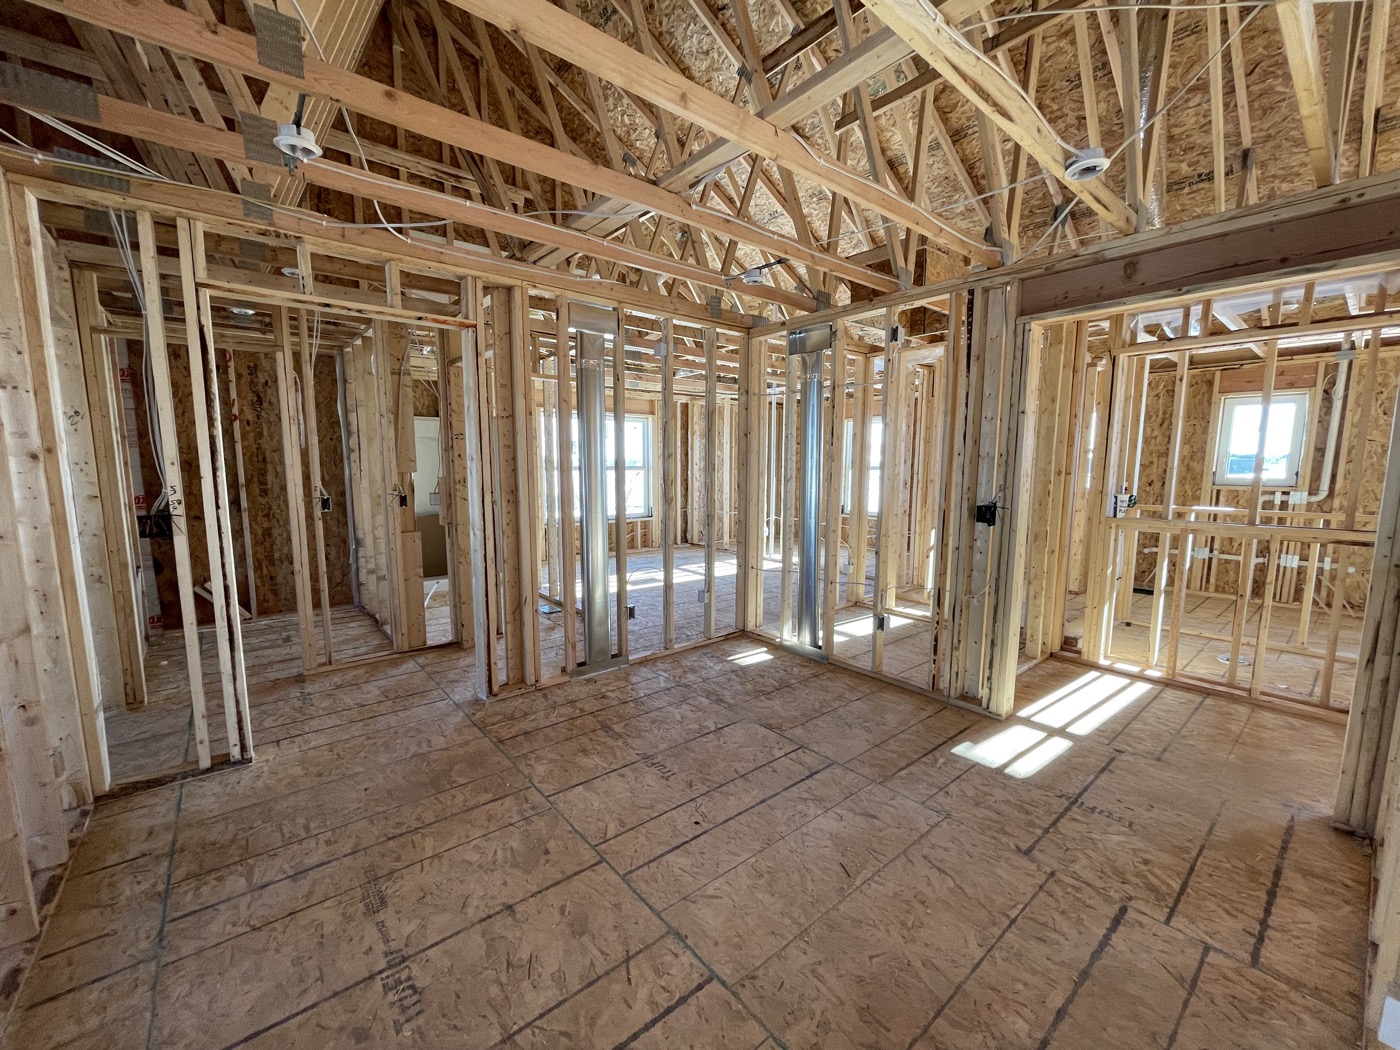
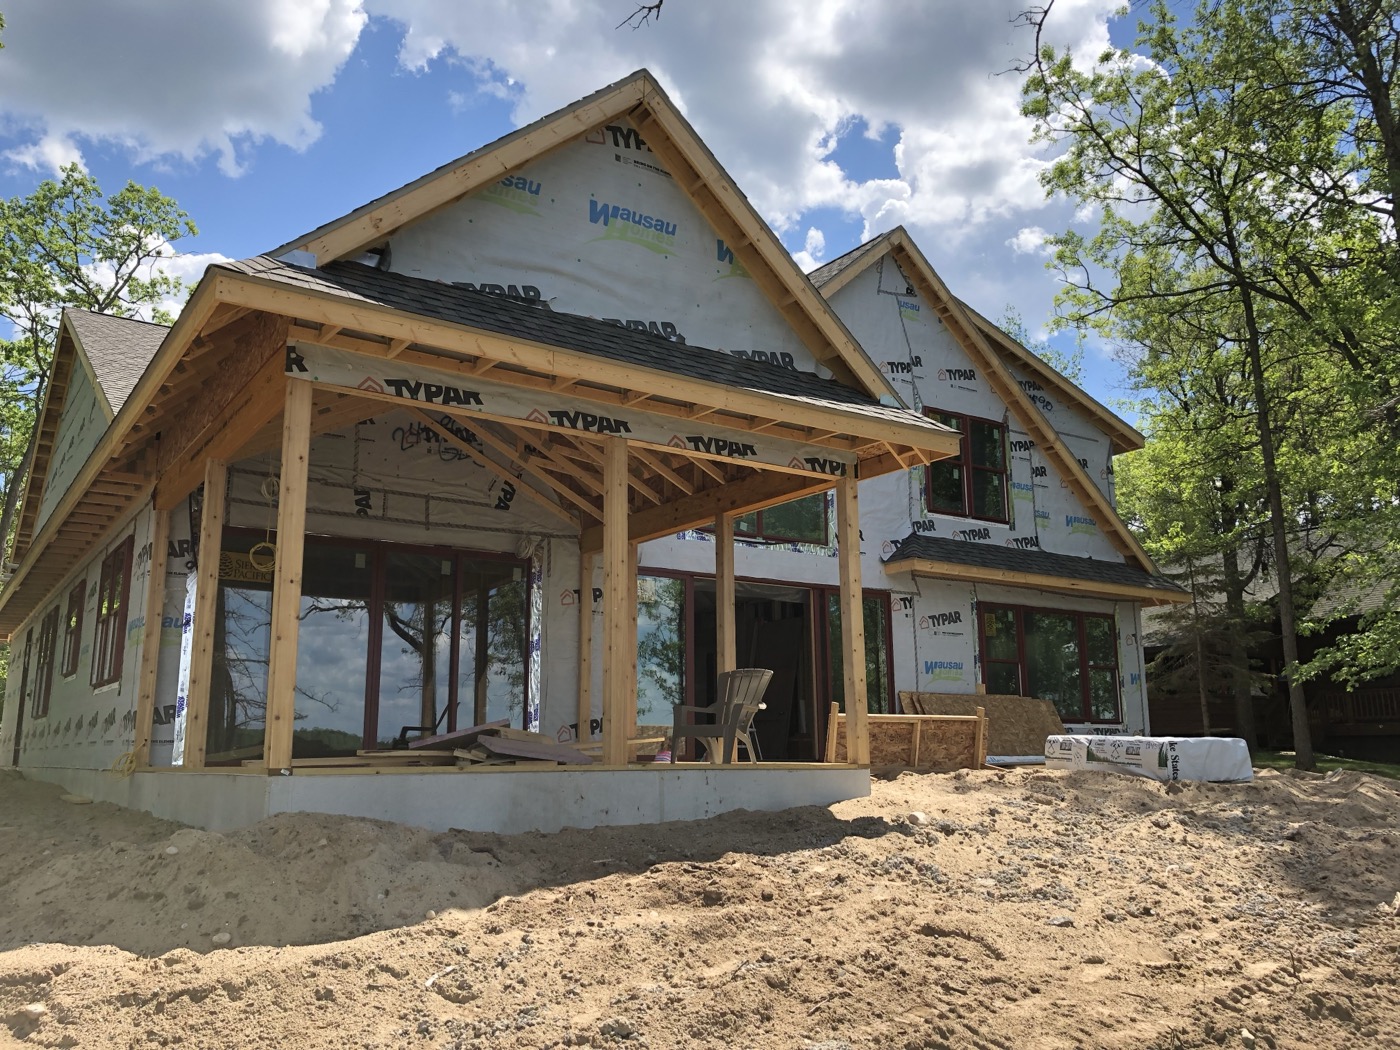
A wider opening changes more than the view. A beam needs the right supports, and those supports need a clear path to the foundation. Plan-led framing coordinates room layout, structural members, windows and trade routes before a convenient-looking change becomes an expensive surprise. Ask how the current drawings and accepted revisions reach the people doing the work.
Lumber provides the members; connections make them work together. Sheathing, bracing, hangers and specified fasteners help transfer forces through the building. Their value depends on the complete detail, not how much metal is visible. Ask which connection details apply to your project and how any proposed product substitution is checked before installation.
Alignment gives the next trades a dependable starting point. Walls, openings and floors need to follow their intended lines and dimensions so windows, doors, cabinets and finishes can fit as designed. Good questions are practical: what has been checked, what remains to be corrected, and when will the framing be ready for the next stage?
A dry-looking surface is not the whole moisture story. Storage, weather protection, drying and readiness for enclosure all deserve attention. So do the air-sealing transitions that become difficult to reach later. Before insulation or drywall, ask what remains open, who owns each correction and what approval releases the next layer of work.
The goal is a frame that supports the design and gives the rest of the house a sound starting point. Bring your plans and your questions. A clear conversation about scope, materials and details is a useful place to begin.
Discuss your framing projectFrom layout lines to standing walls, see what is checked as framing is cut, assembled, connected and brought plumb, level and square.
Roof & StructureBig windows and open rooms are possible, but the remaining walls still have work to do when the wind pushes sideways.
Lumber & MaterialsHangers, straps, anchors and their fasteners are part of the structural system, not optional hardware-store extras.
Cold-Climate PerformanceA wet jobsite is a reason for a plan, not an automatic demolition order. Here is what homeowners should ask after rain or snow.
Inspections & WalkthroughsUnderstand the inspection sequence, the documents worth keeping, and what a correction notice means for your project.
The Craft
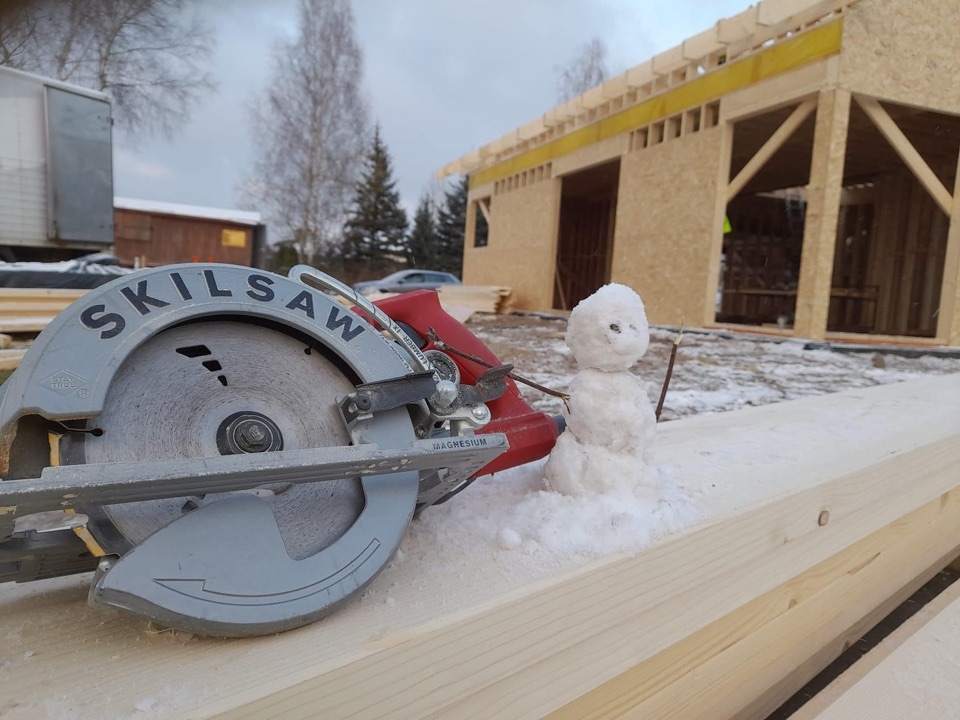
Every frame starts as a tree and ends as the bones of a building. In between is a crew, a stack of lumber and a set of tools that have barely changed in decades, because they work.
A boy with a toy saw. A grandfather's hand on pine bark. A teenager's first nail. A wall that's plumb on the first check. The last ridge cut. The saw set down.
Tool philosophy
Why we reach for these, in plain terms.
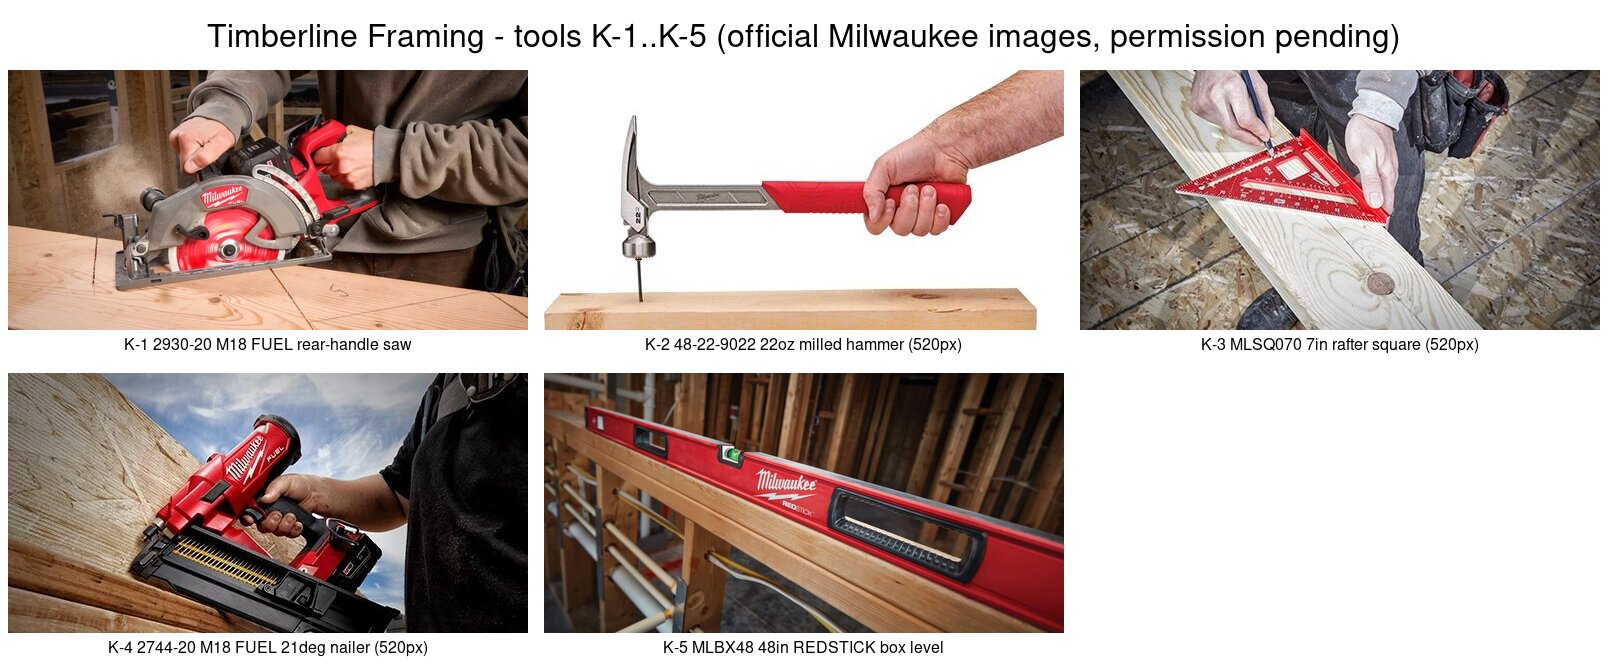
A heavy saw with torque behind it holds a straight line. Weight keeps the cut steady.
The milled face grips the nail head instead of glancing off. It marks the wood, so it stays on the frame, not the finish work.
A square, a protractor and a saw guide in one triangle. A square cut starts here.
Speed matters on a crew, but it never replaces placement. The nail goes where the plan says.
A wall isn't done because it's standing. It's done when the bubble says so.
Our Story
Built to last.
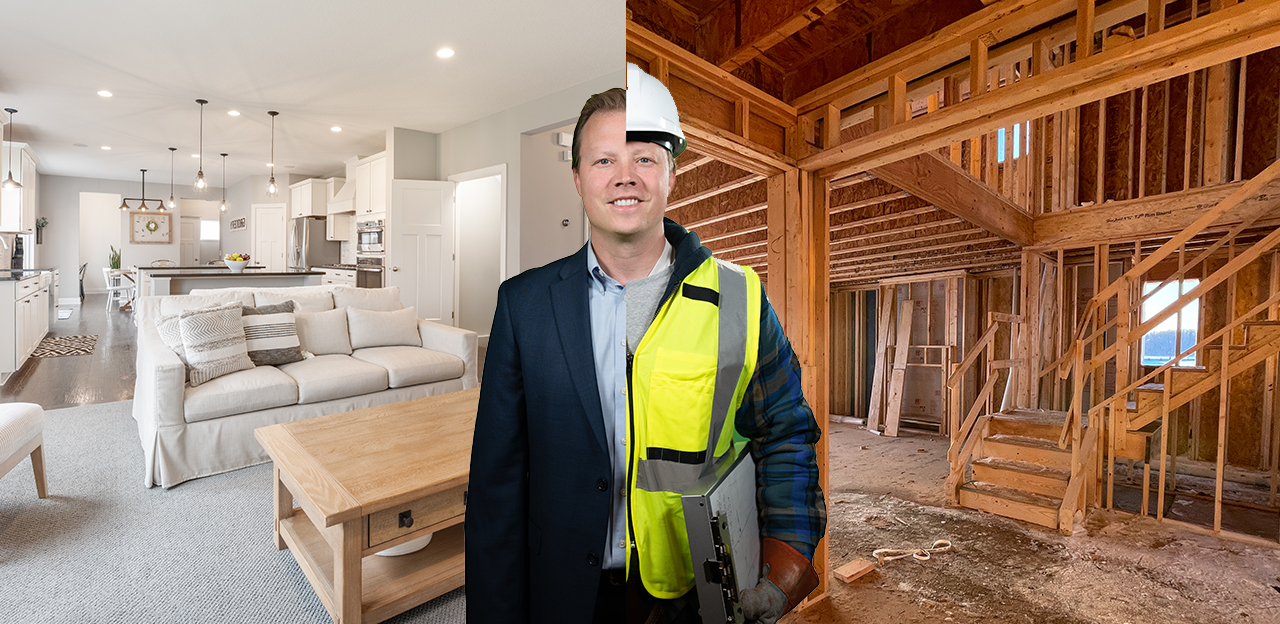
It's four in the morning and the rain hasn't stopped since Tuesday. The temperature's dropped into the thirties, and the ground's gone from mud to ice to mud again. Your boots are soaked through by the time you hit the site, and the cold doesn't just bite your hands — it settles into your bones and makes itself at home. The saws are screaming before the sun's even thought about showing up. That high-pitched whine of a circular blade cutting through frozen lumber, the hammer hitting nails like it's got a grudge. And the smell — that's the thing nobody tells you about. Fresh-cut pine and diesel and wet canvas and coffee that's been sitting in a thermos since midnight. It's not pretty. It's honest.
Most people drive past jobs like this and never think twice. They see the frame going up and think, that's just wood. But you know better. You know that every stud has a purpose, every joist is a promise. Somebody's kid is going to sleep in that house someday. Somebody's going to come home from a hard day and walk through that door, and the walls are going to hold because you didn't cut corners when the rain was coming sideways and your fingers were too stiff to feel the pencil.
That's the thing about this work. It's not glamorous. It's not going to make you famous. But it's real, and it's yours, and when you stand back at the end of a long week and look at what you built — straight lines, tight joints, a roof that won't leak — you feel something most people never get to feel. You made the world a little more solid than you found it.
If you're hiring on the lowest bid, we're probably not your crew. But if you want a frame that holds when the weather turns ugly and the years roll by, give us a call. Timberline Framing. Bones that last.
A personal story by David Olson
Gustaf Nordquist, my family’s beginnings in Little Falls, and the work I carry forward.
In January 1906, my great-great-grandfather put his two daughters’ future on paper. He left his property to them equally and named a friend to be their guardian. Eight months later, he was gone.
The names in that will are part of my family: Gustaf, his daughter Adina, and the people who would help raise her. Adina’s son Bernie became my grandfather. I learned beside him. Today, I build homes.
This is the family story behind my work.
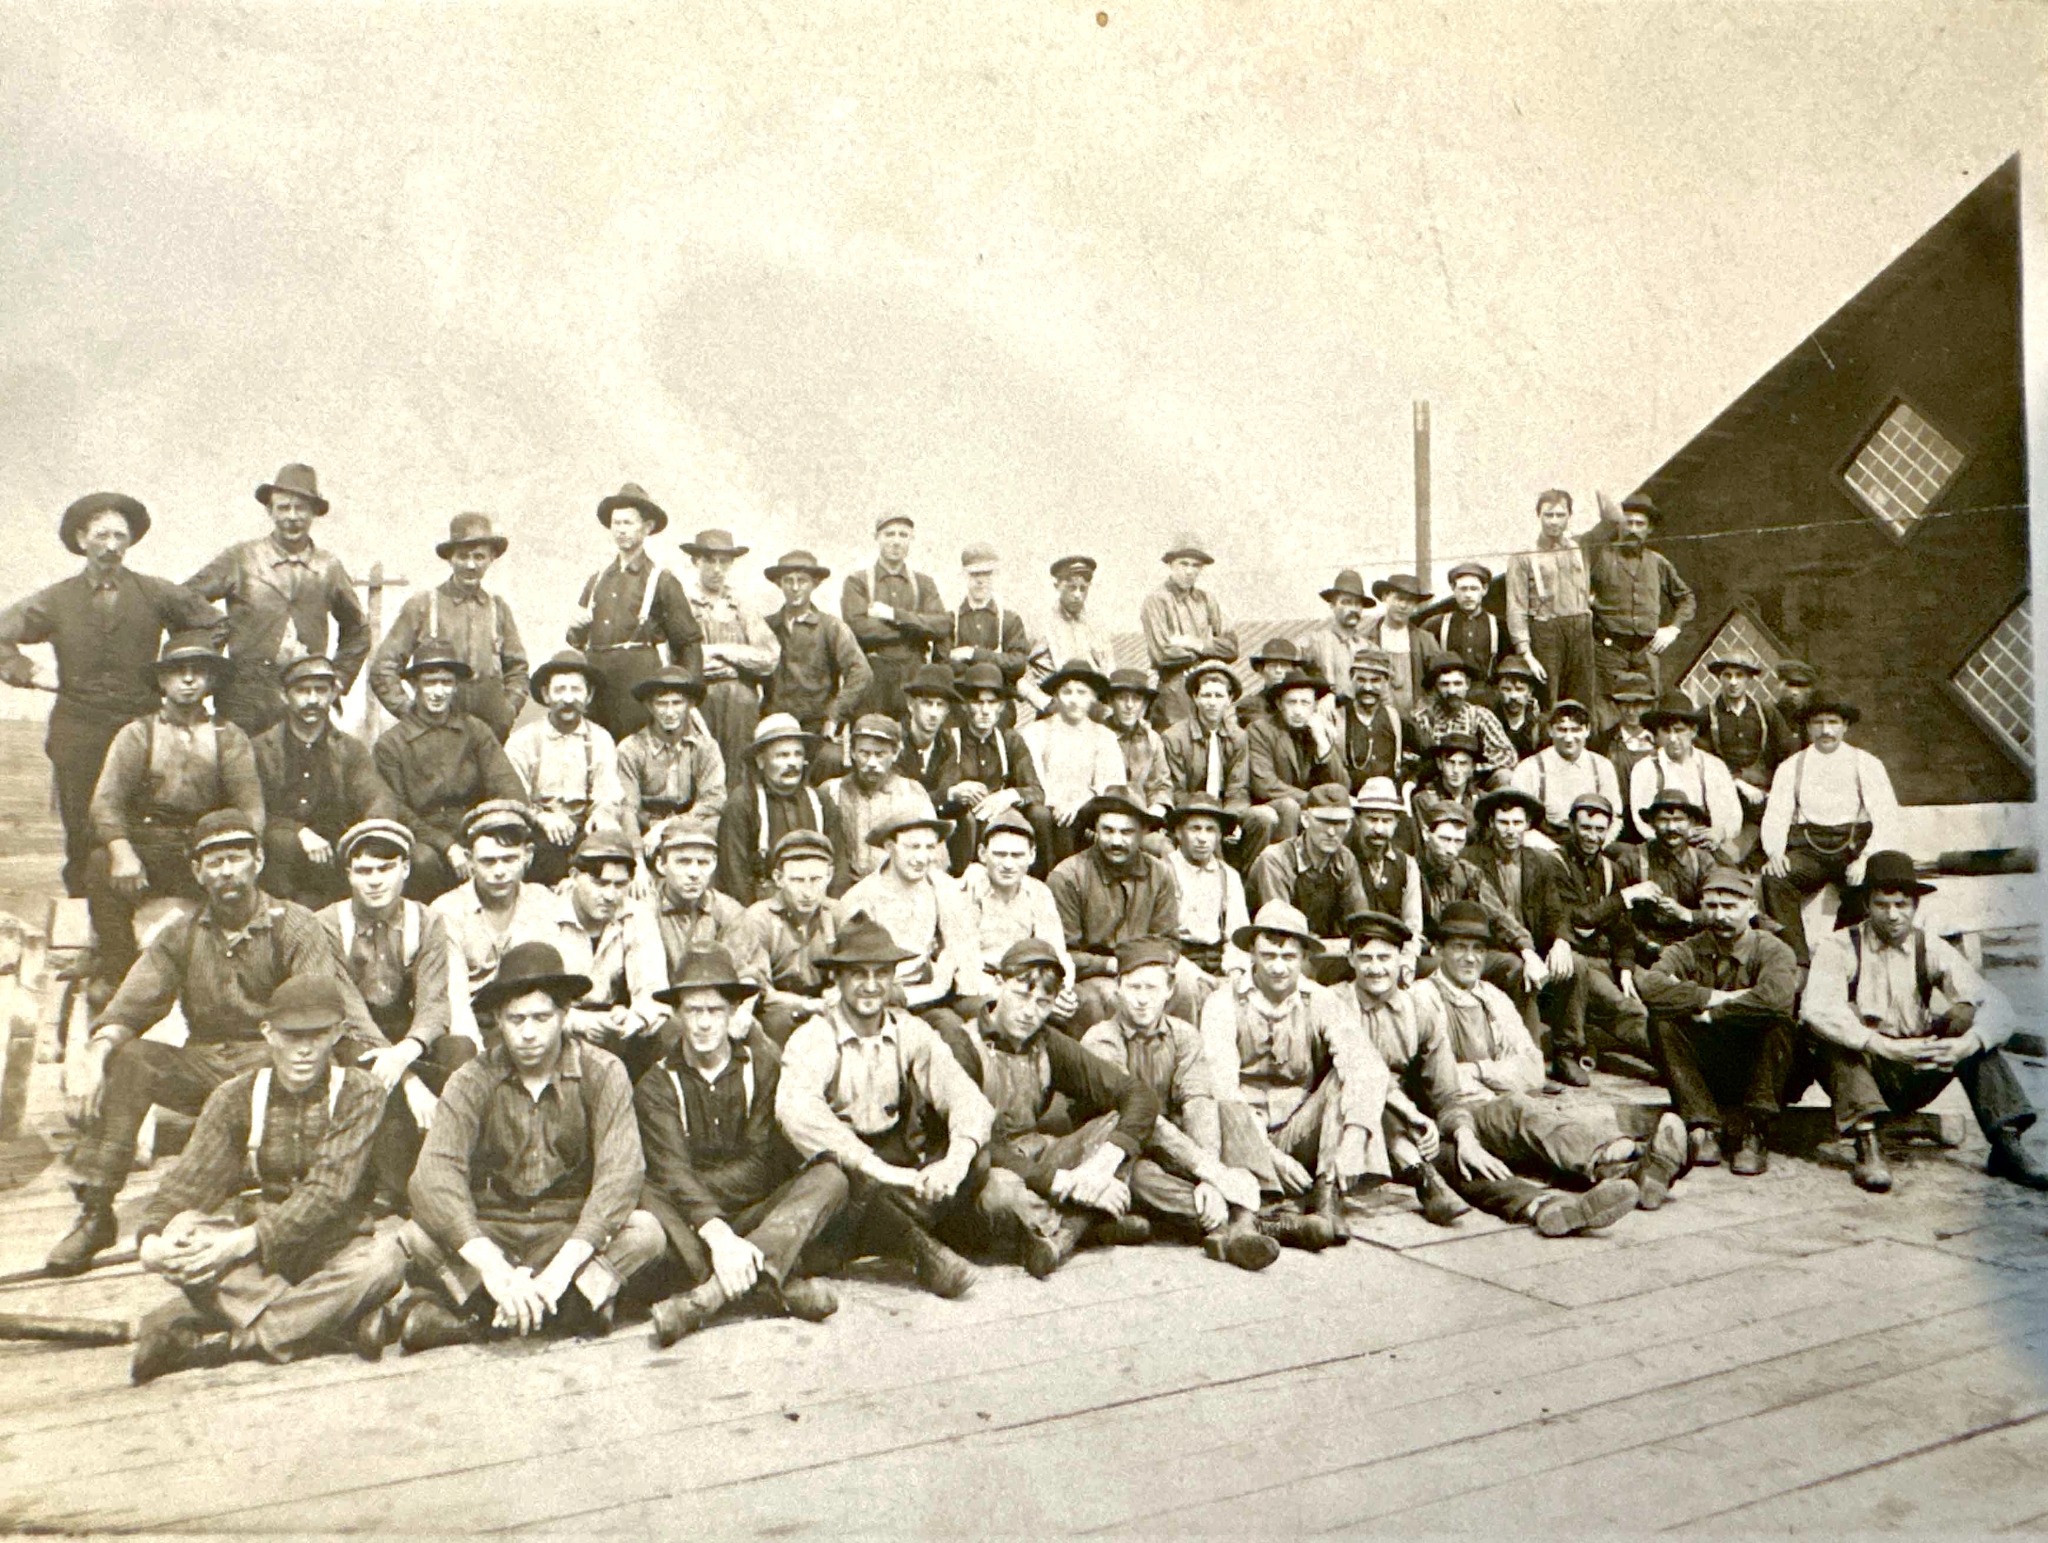
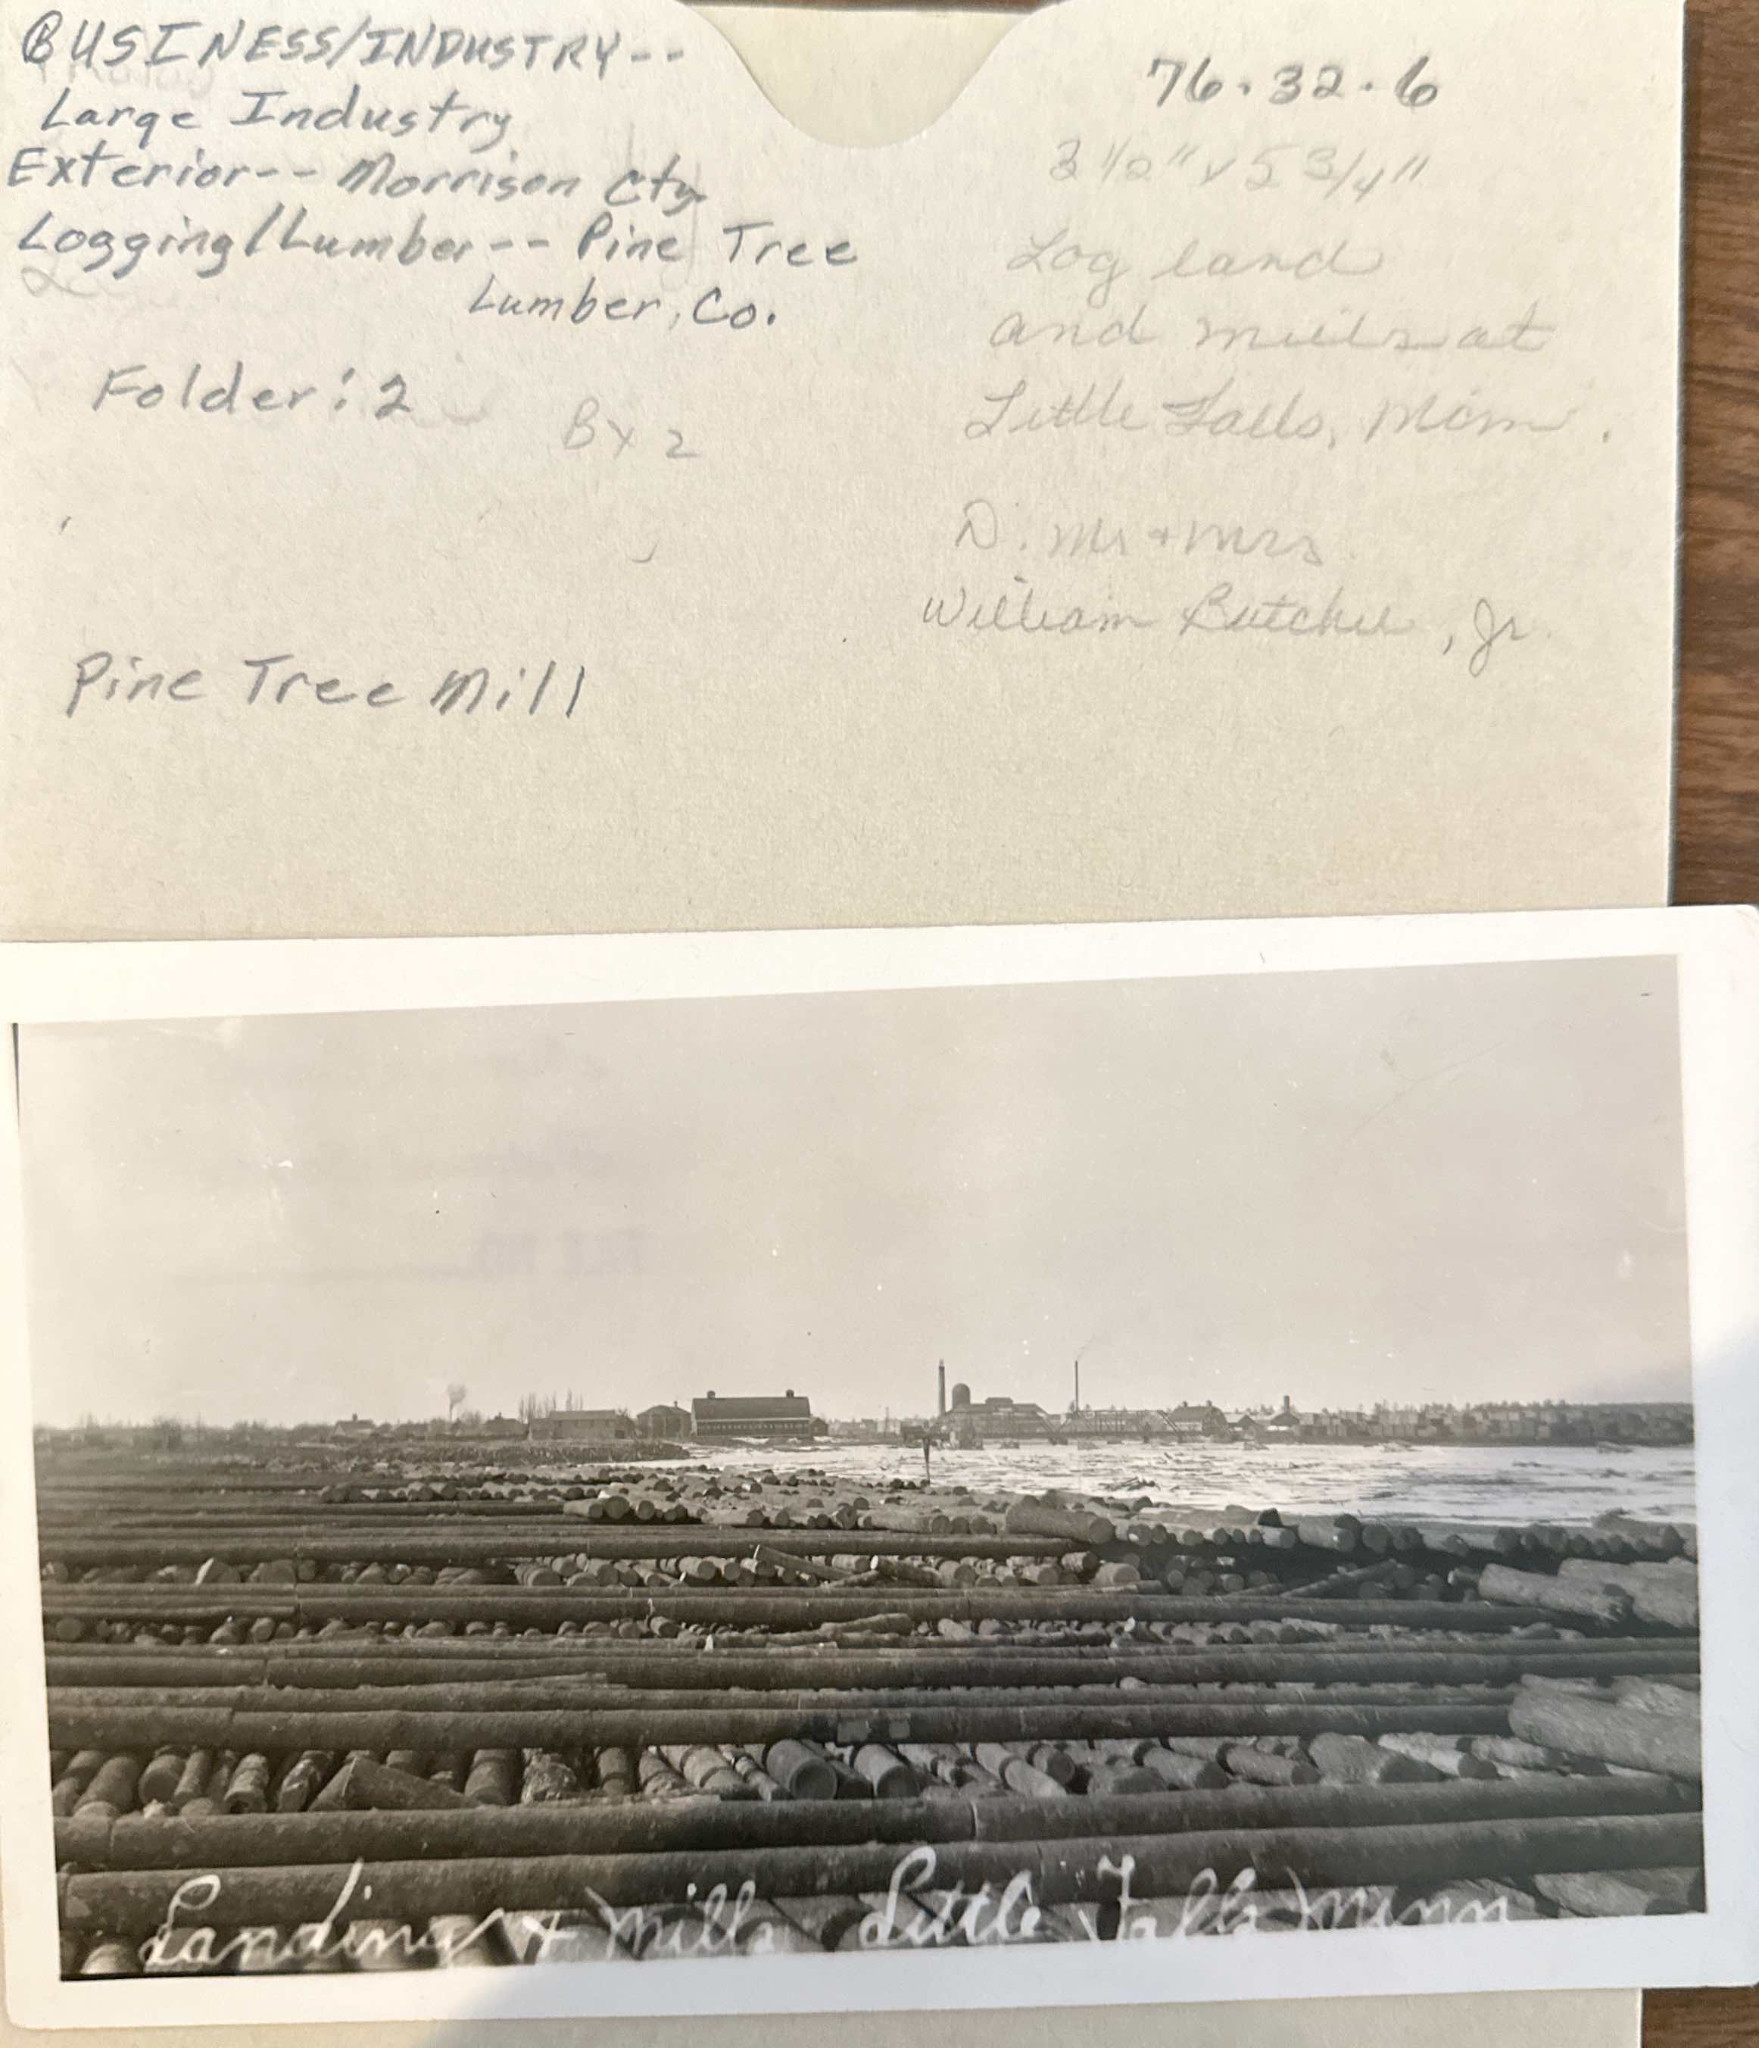
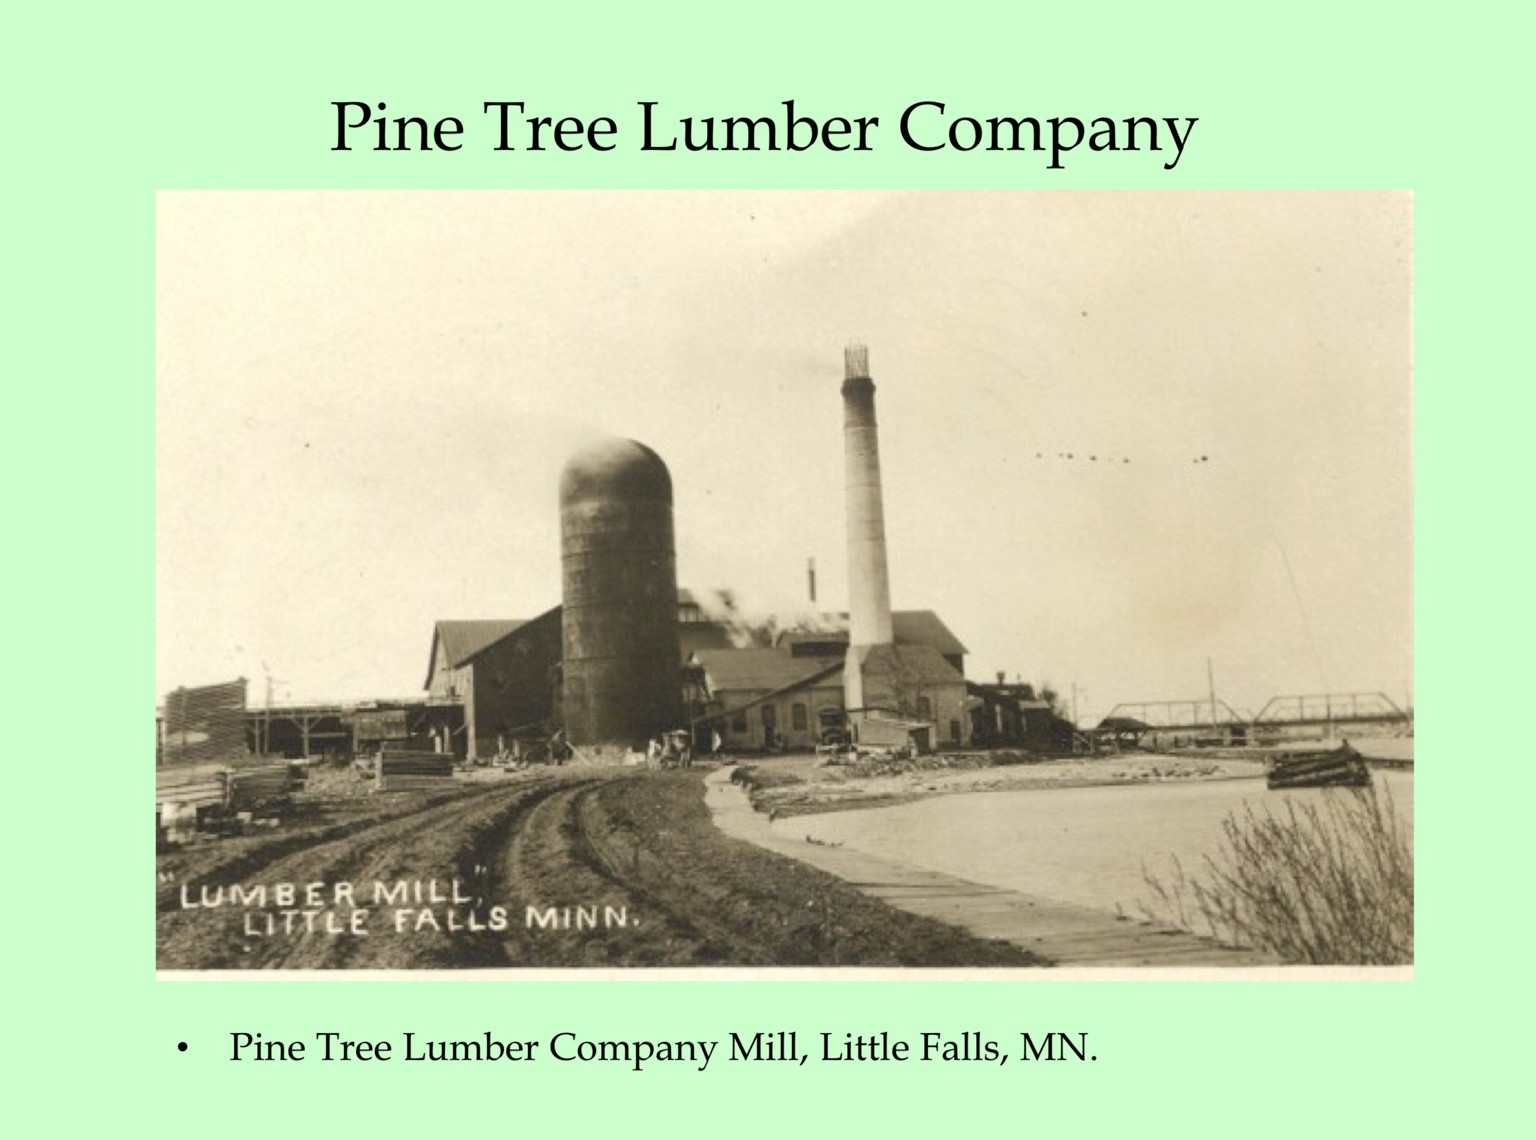
Our family’s account begins with Gustaf Nordquist coming from Sweden in 1884 and later working at Pine Tree Lumber Company in Little Falls, Minnesota. Wood was a livelihood. The mill was part of the town around him. Working there was the opportunity that brought him to America.
Forest · River · Mill
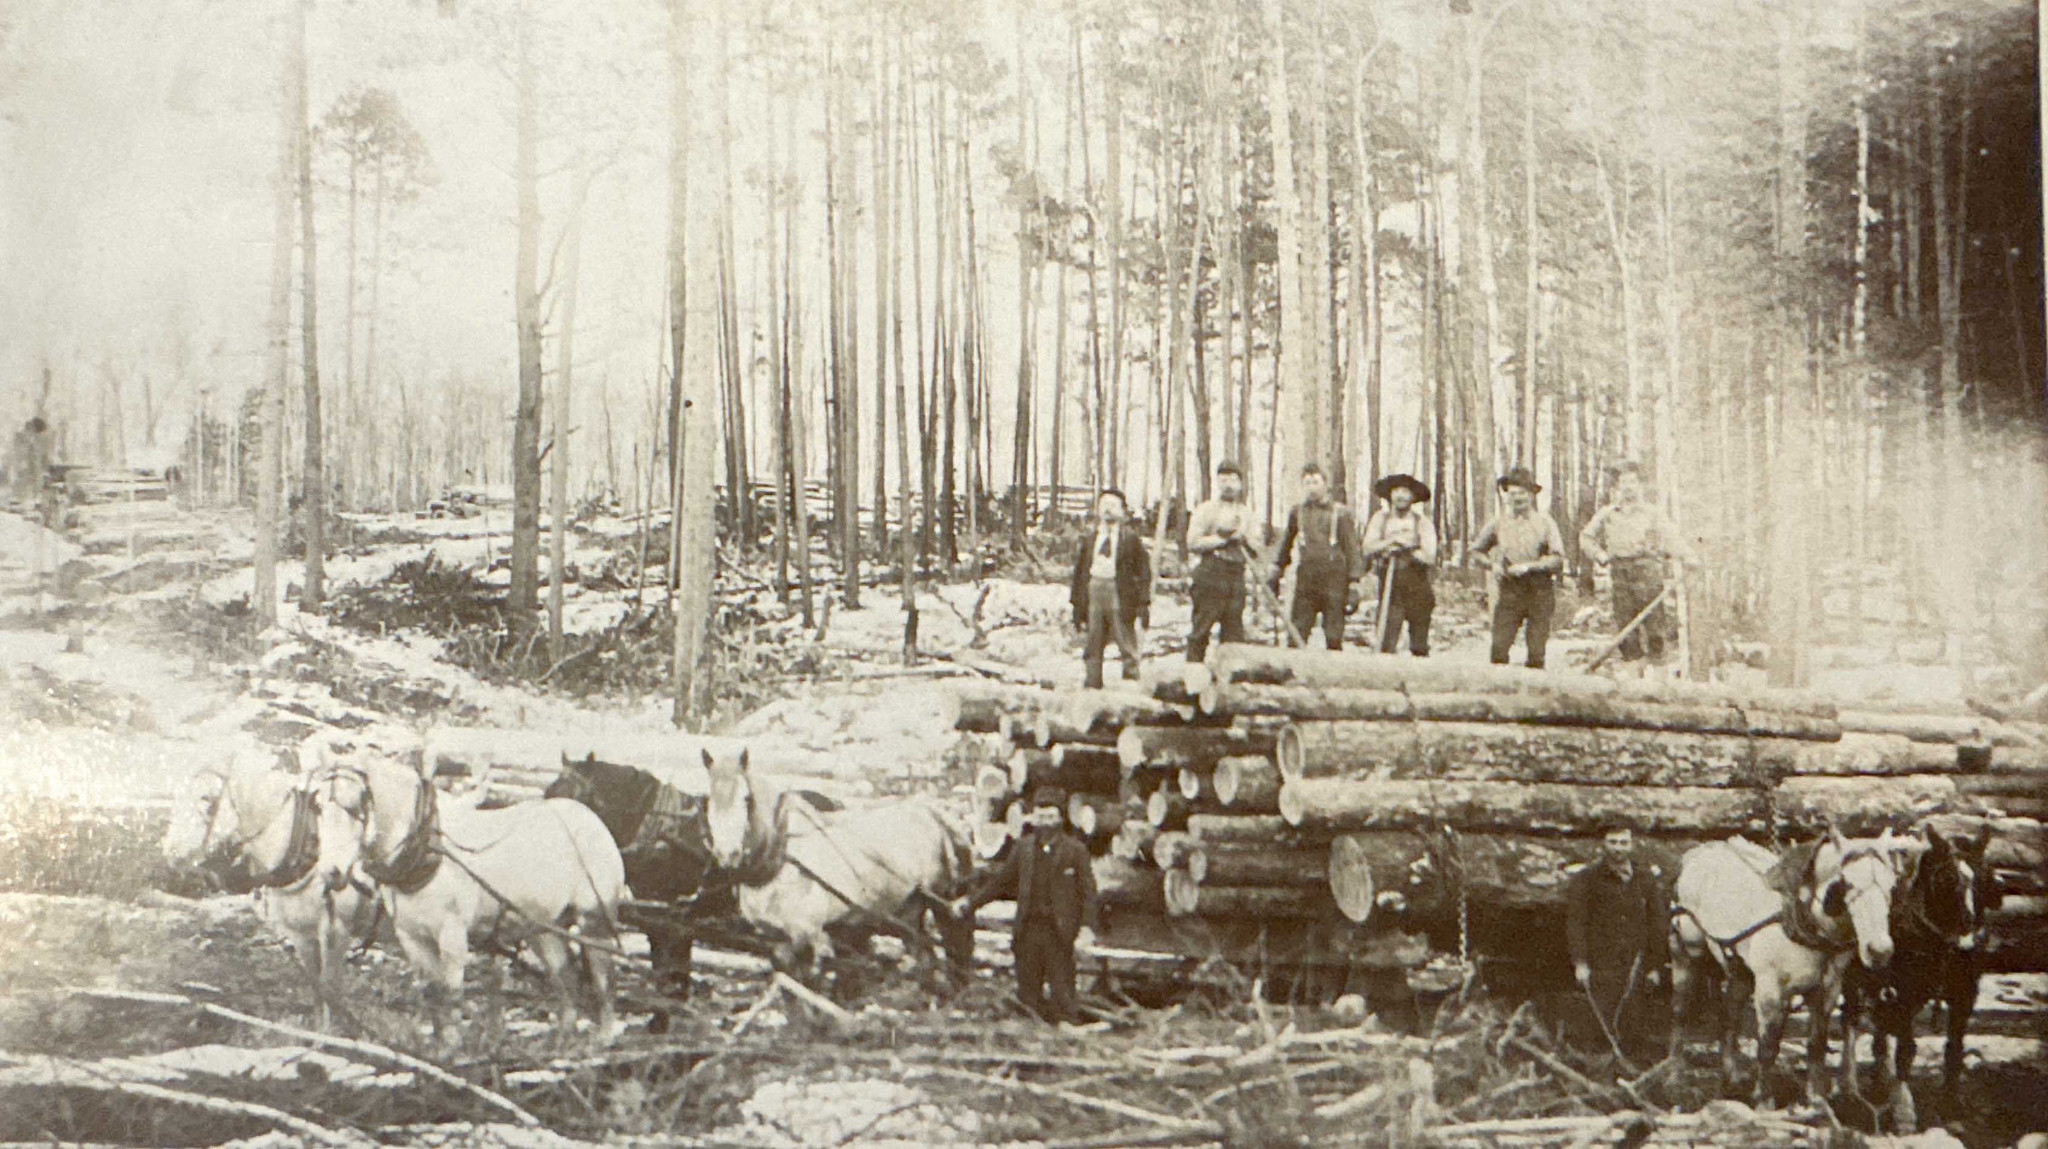
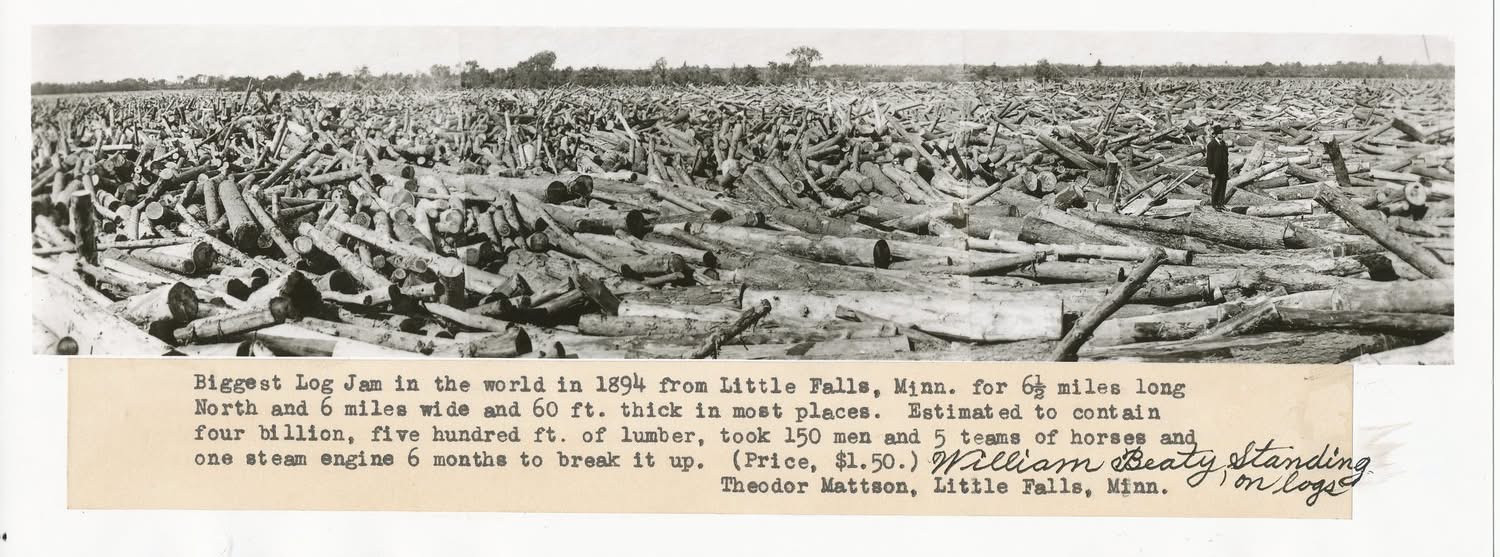
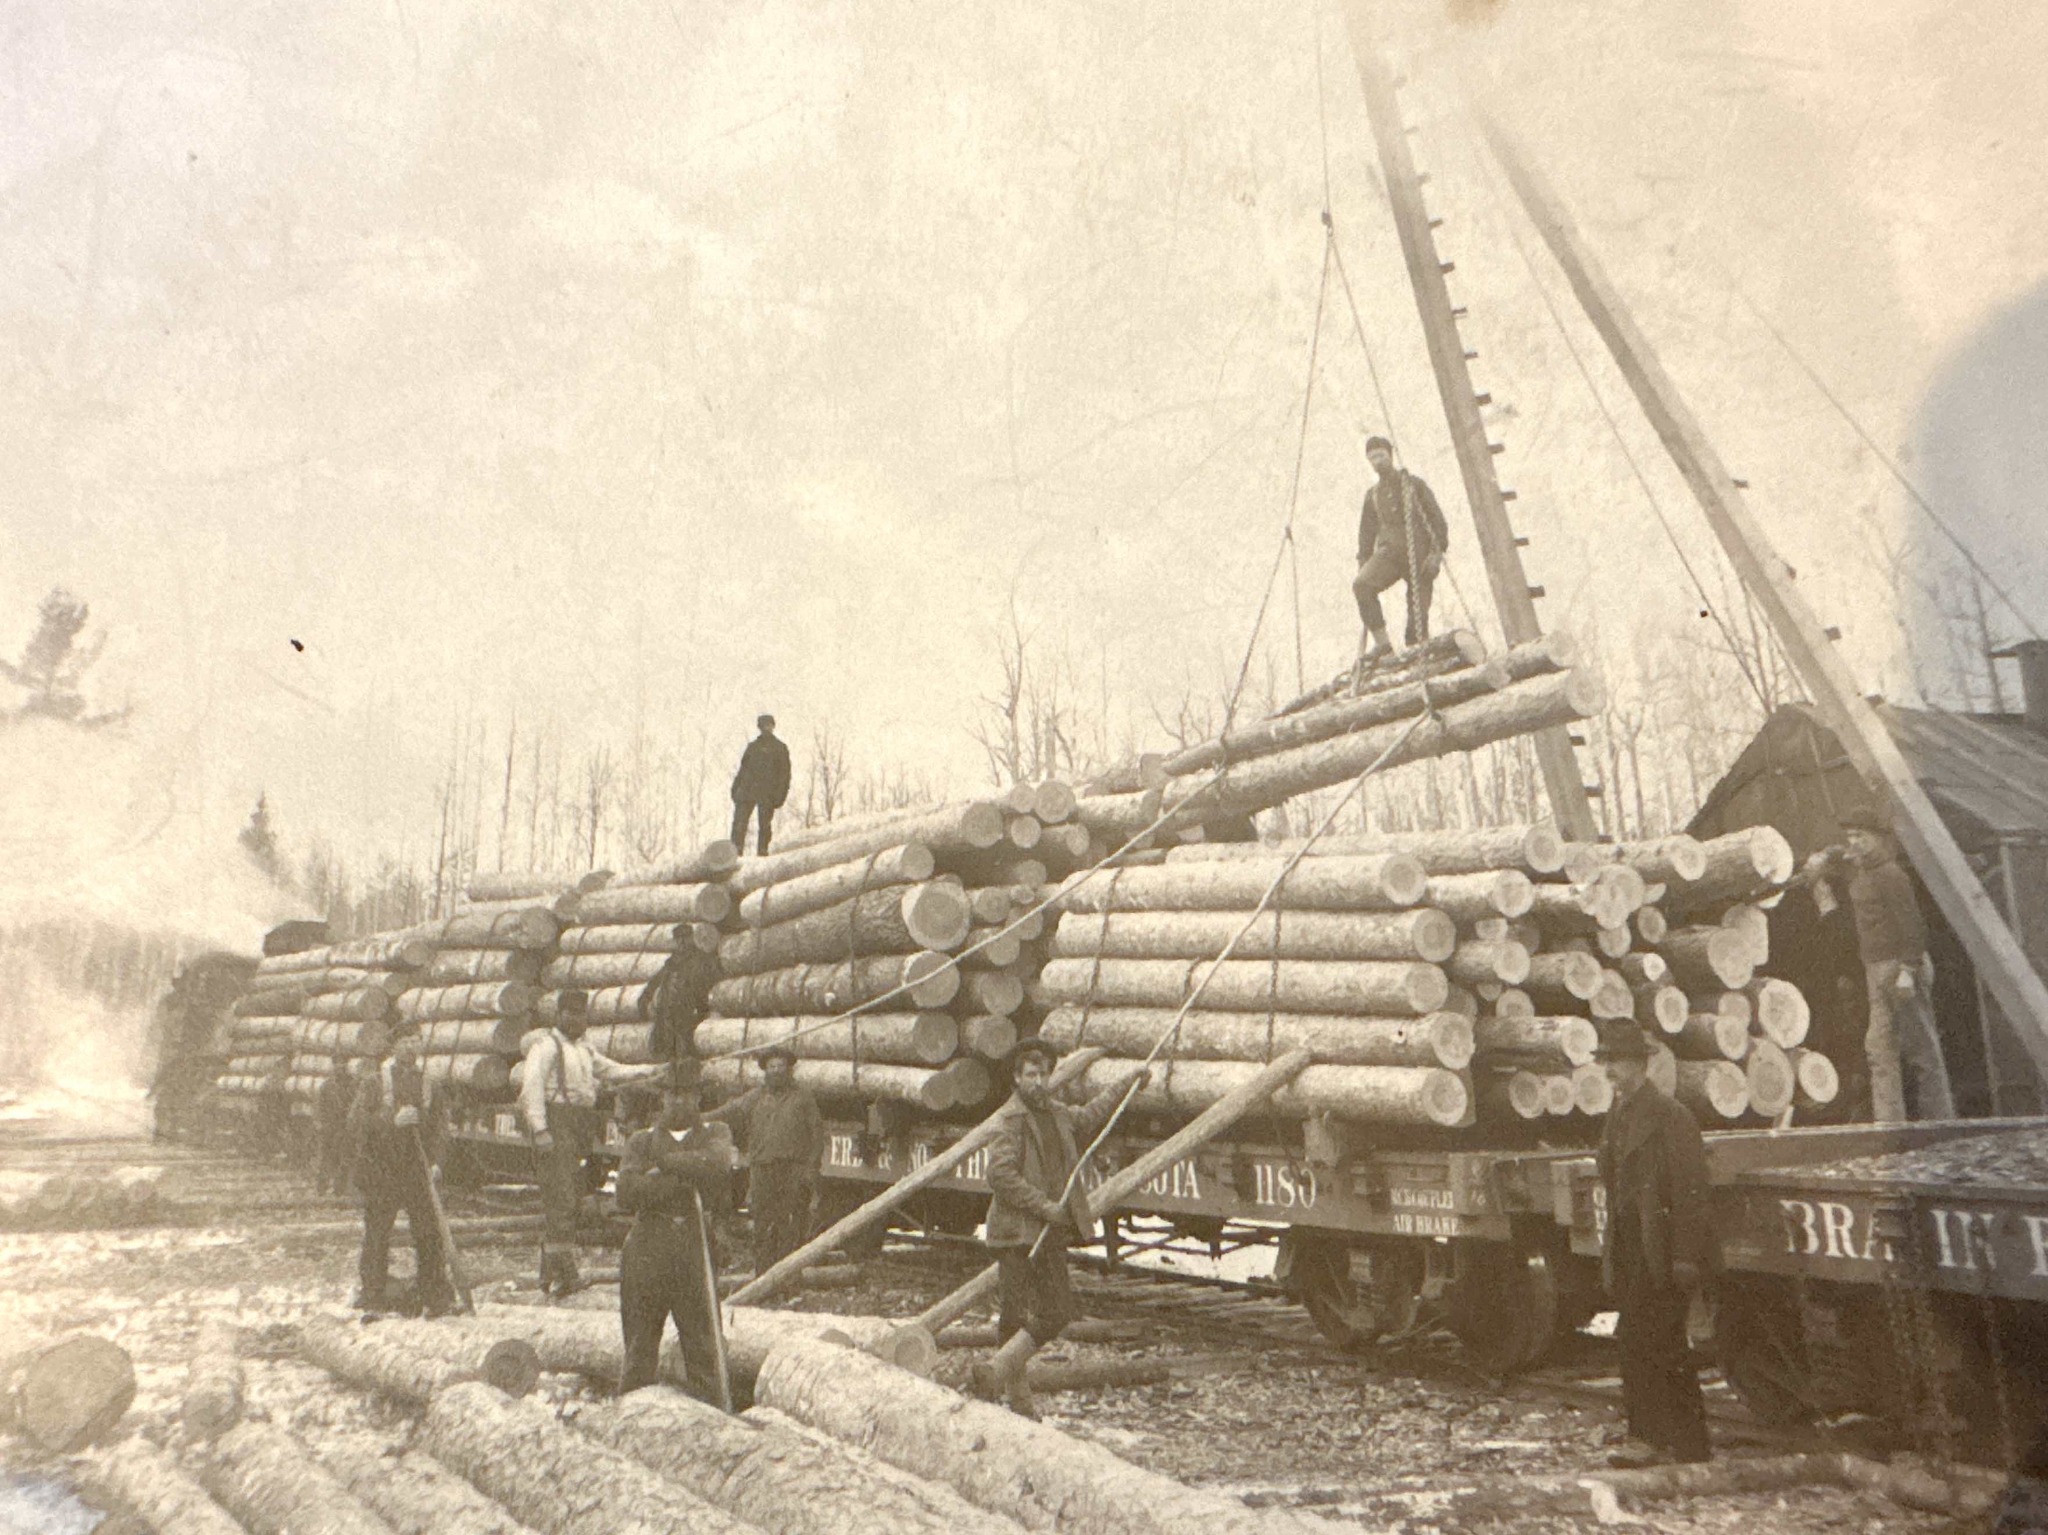
Historical industry context around Little Falls. These images show the work and landscape of the era; below are workers of the Pine Tree Company. We don't know which one is Gustaf.
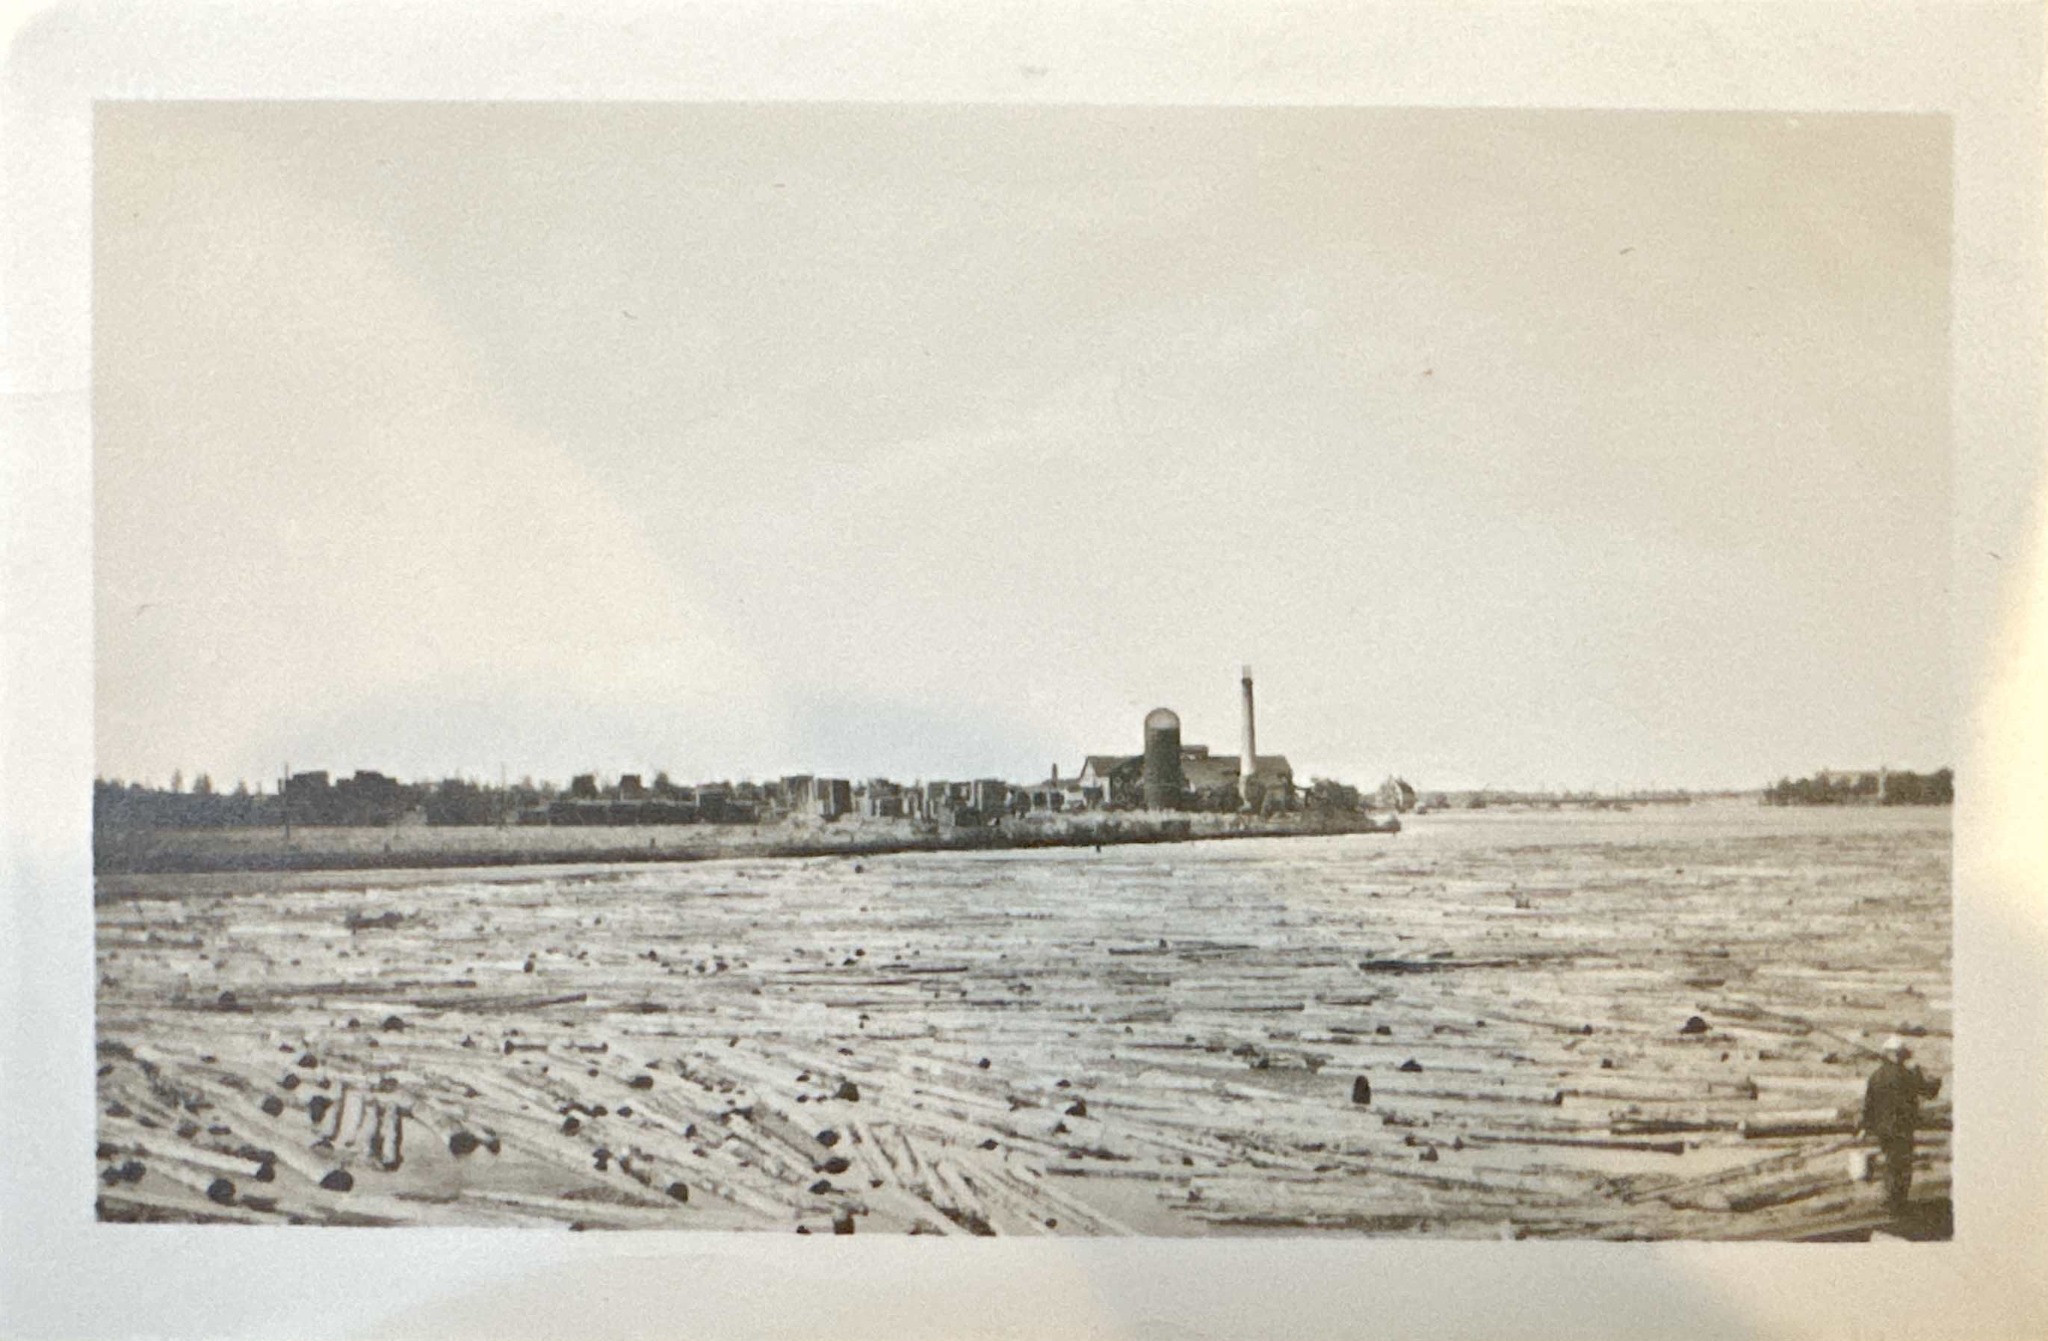
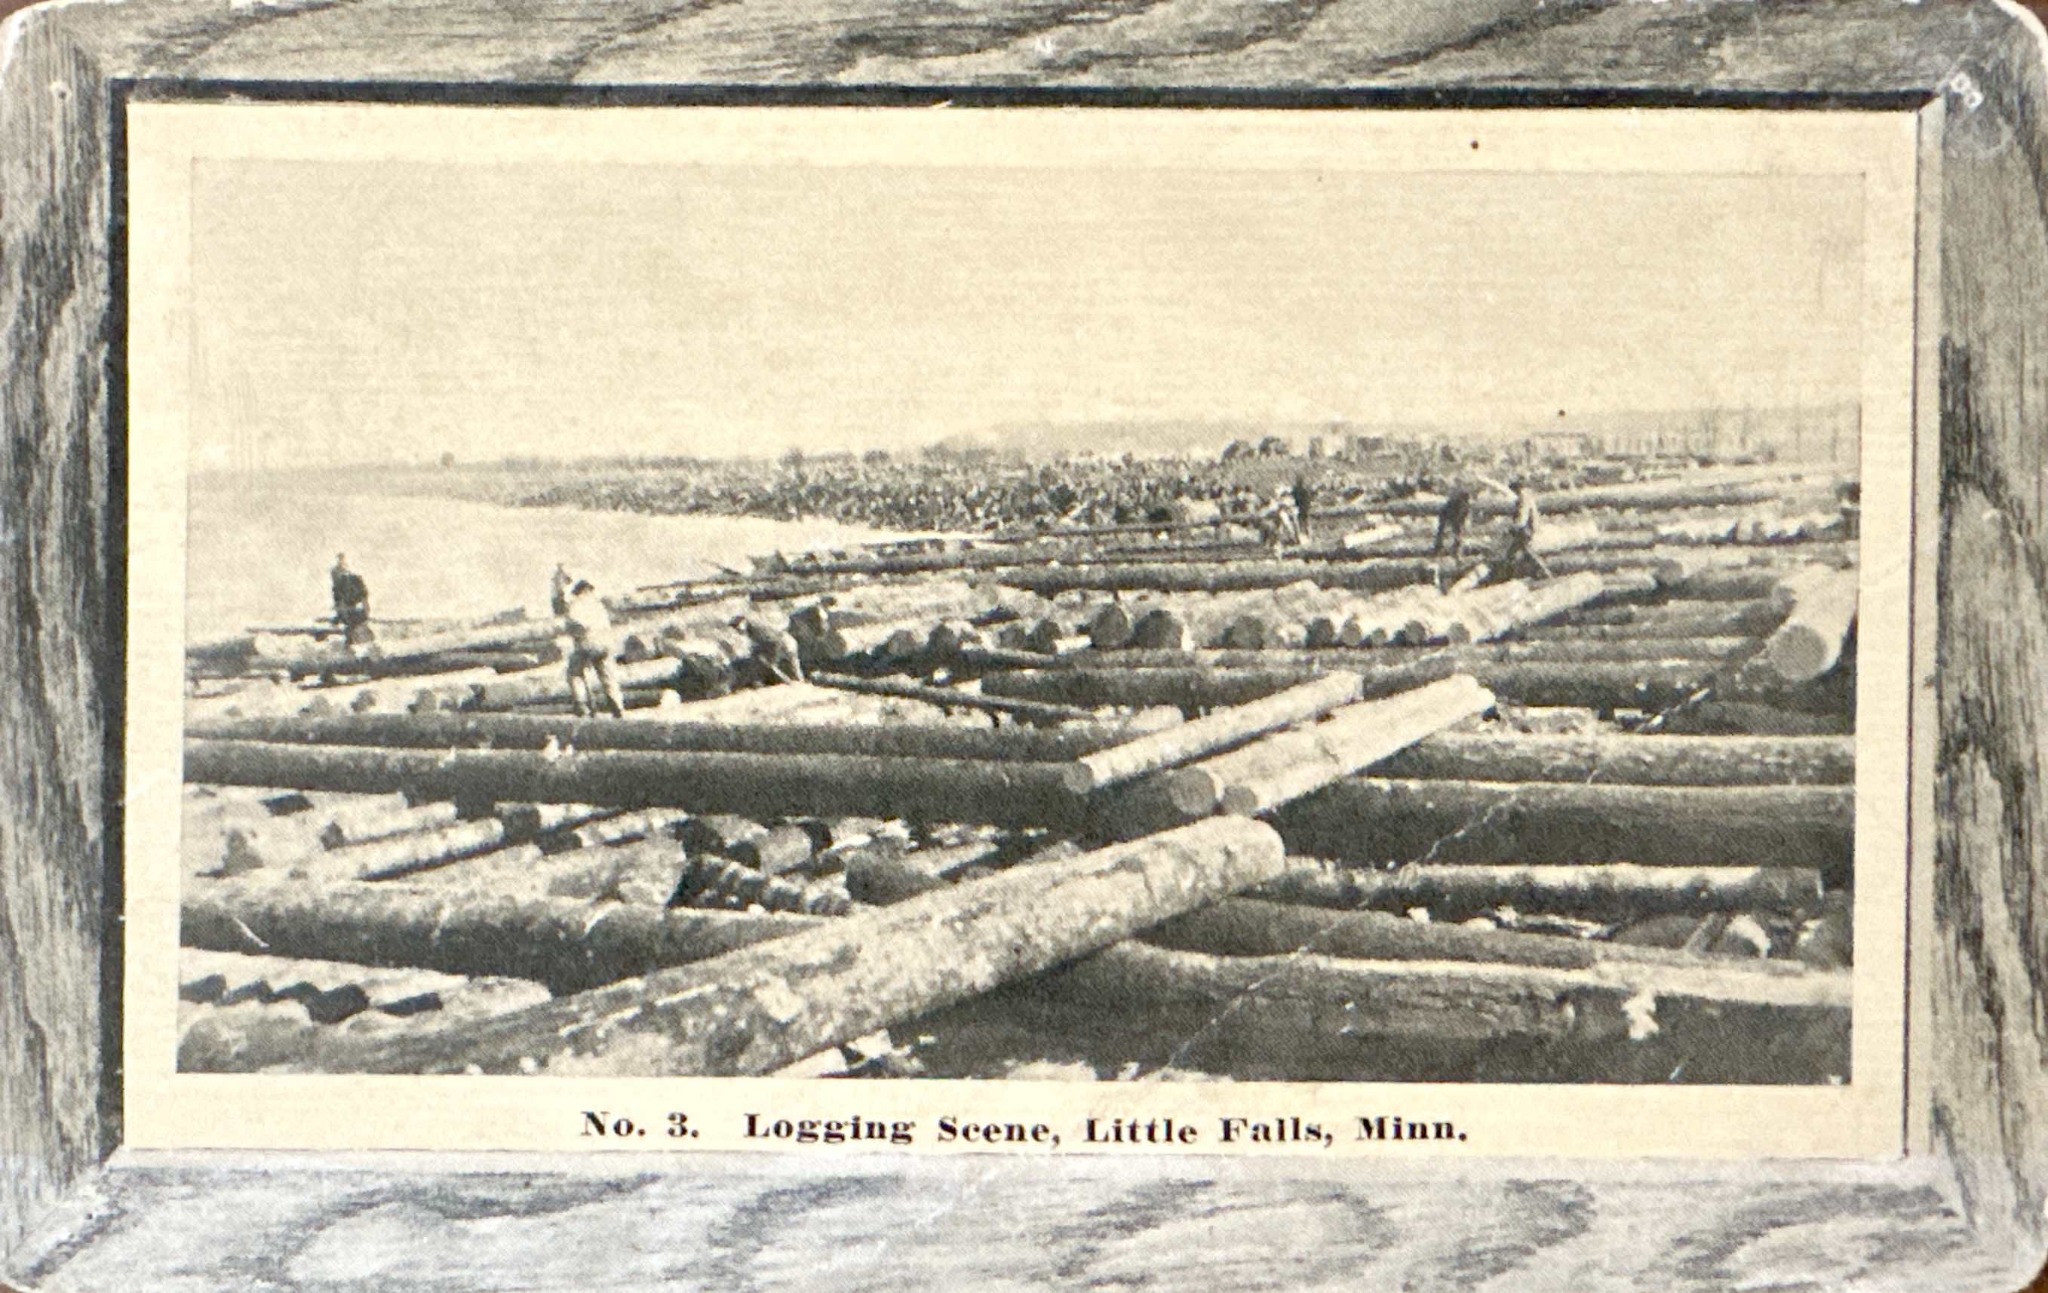
The records also preserve another part of his life. Translated minutes from the Scandinavian Christian Mission Church of Little Falls name him as chairman and trustee in 1896 and 1897. Alongside earning a living, he took responsibility in his church community. Those ordinary meeting records give us something lasting: evidence of a man showing up to serve.
His family’s life was harder than those minutes alone can tell us. A newspaper clipping describes him as a widower with two young daughters. His will, signed January 8, 1906, names them: Adina and Nora Adora. He directed that his property be “divided between them equally” and chose his friend Arthur Robert Holmstrom as their guardian during their childhood.
Gustaf died on September 10, 1906. The words he had put on paper remained.
Our family remembers Adina being taken in and raised by the Holmstroms. Adina grew up and became a mother. Her son was Bernie.

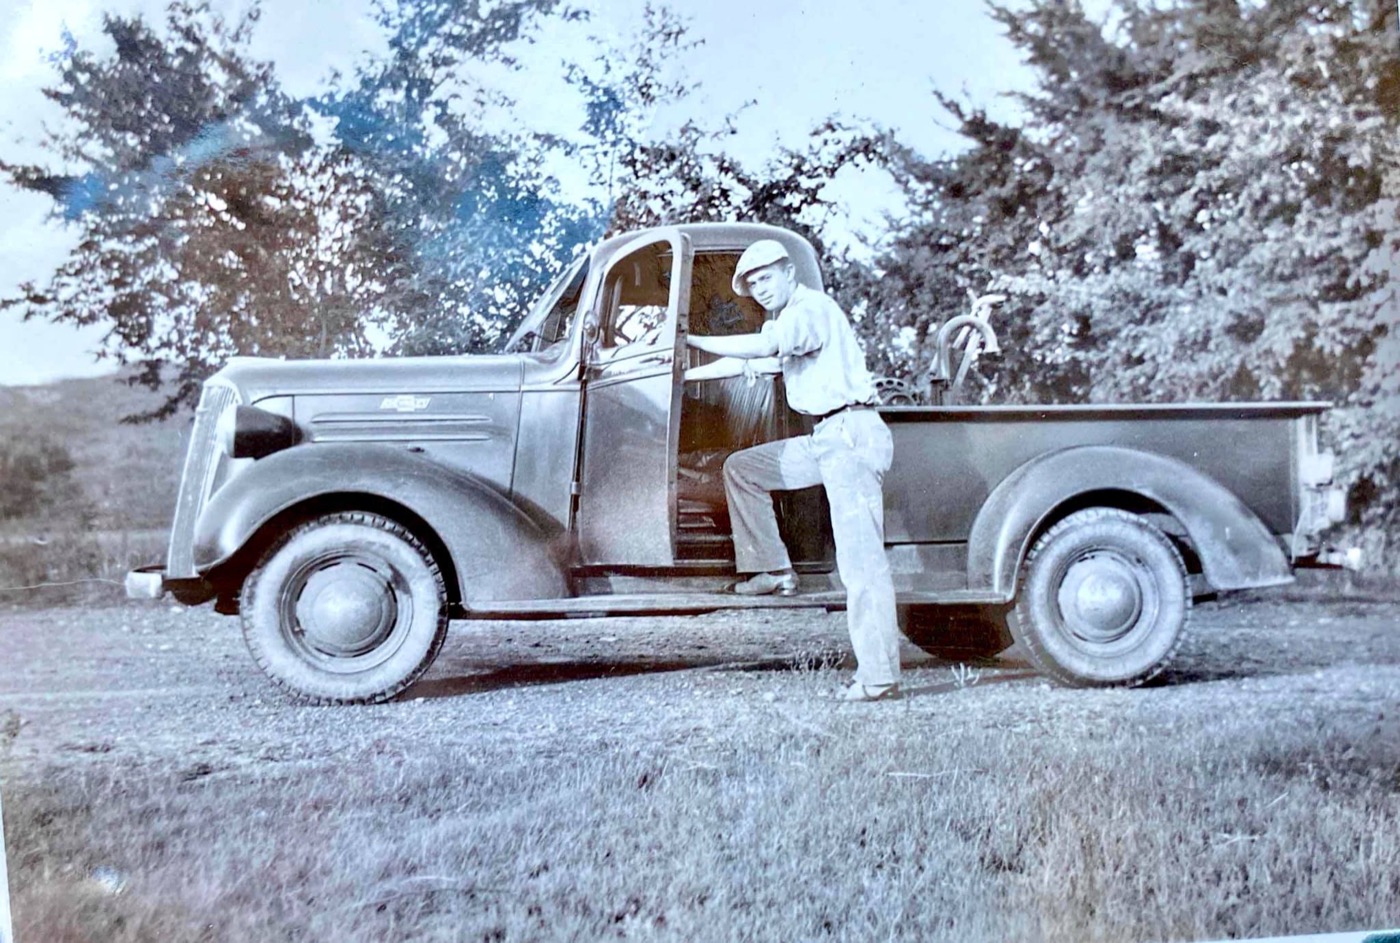
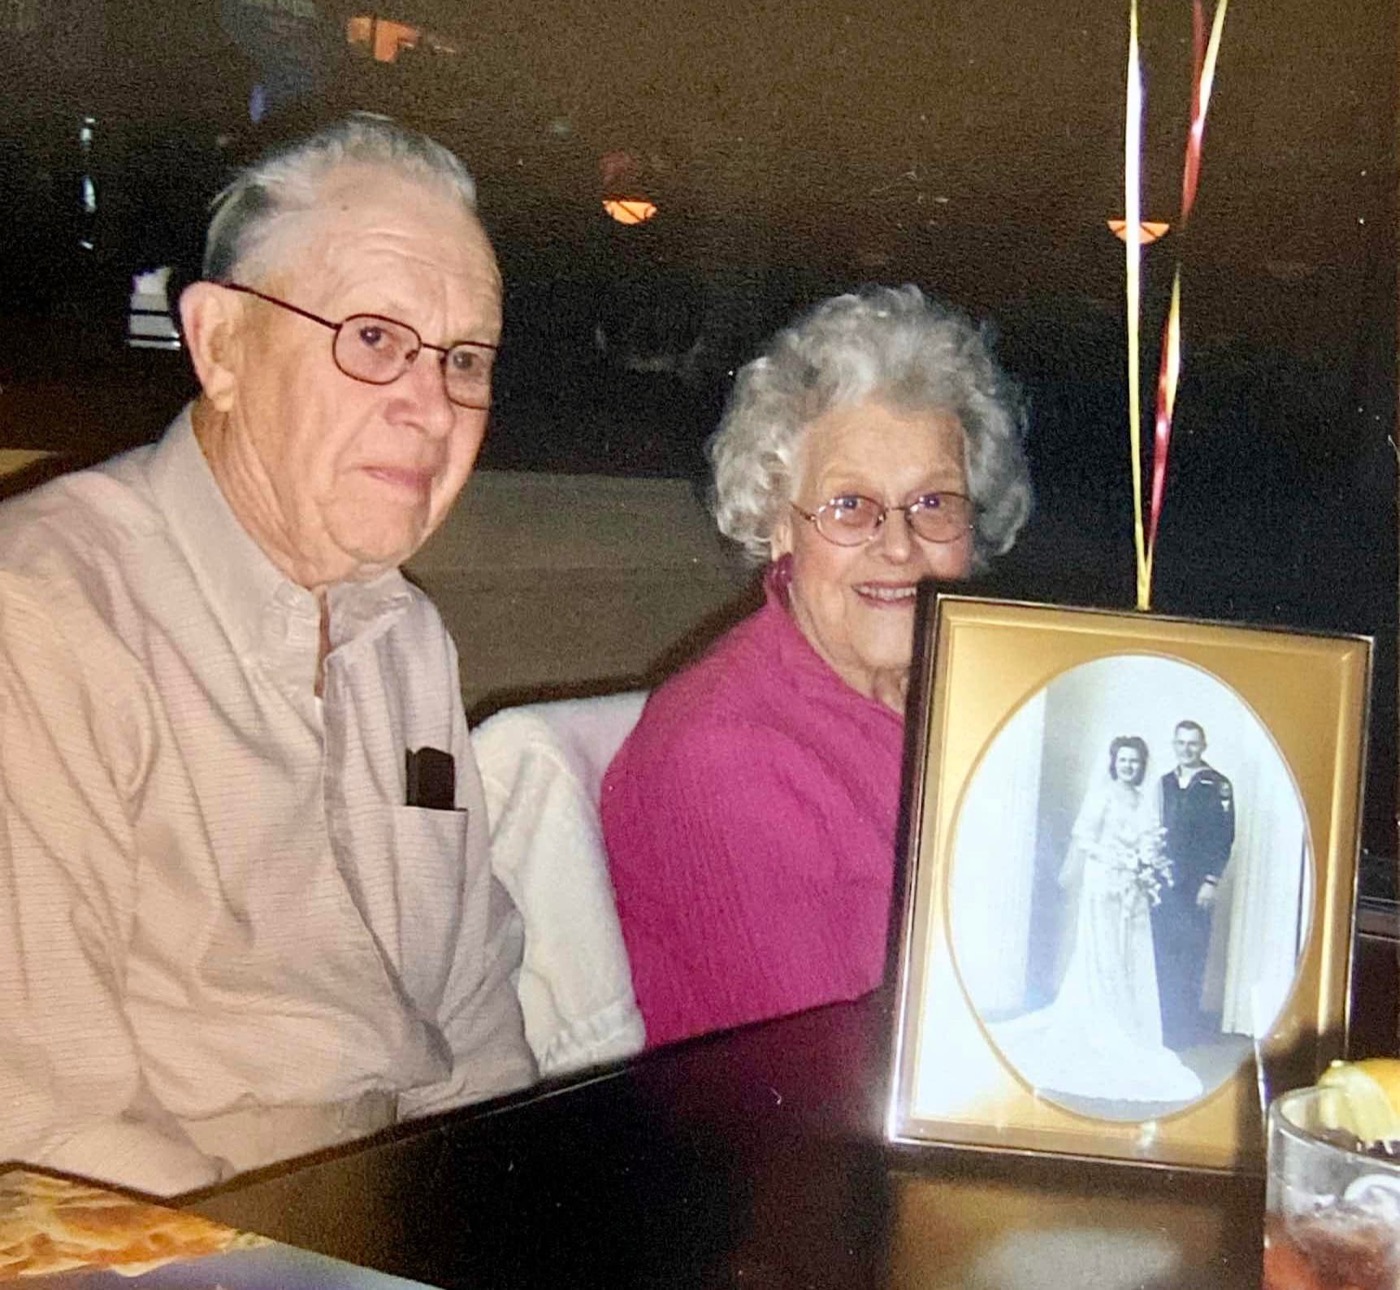
Adina’s son Bernie, my grandfather, spent his working life finishing hardwood floors. I learned beside him. He was kind and lighthearted, honest and principled, a hardworking man of faith who earned people’s respect.
A family photograph shows him holding his wife, Ethel, in the snow, both smiling. It is a warm glimpse of the man behind the craftsmanship.
His example connected good work with the way we treat people. The floor mattered, and so did the family who would live with it. That connection between labor, craft, and relationships stayed with me.
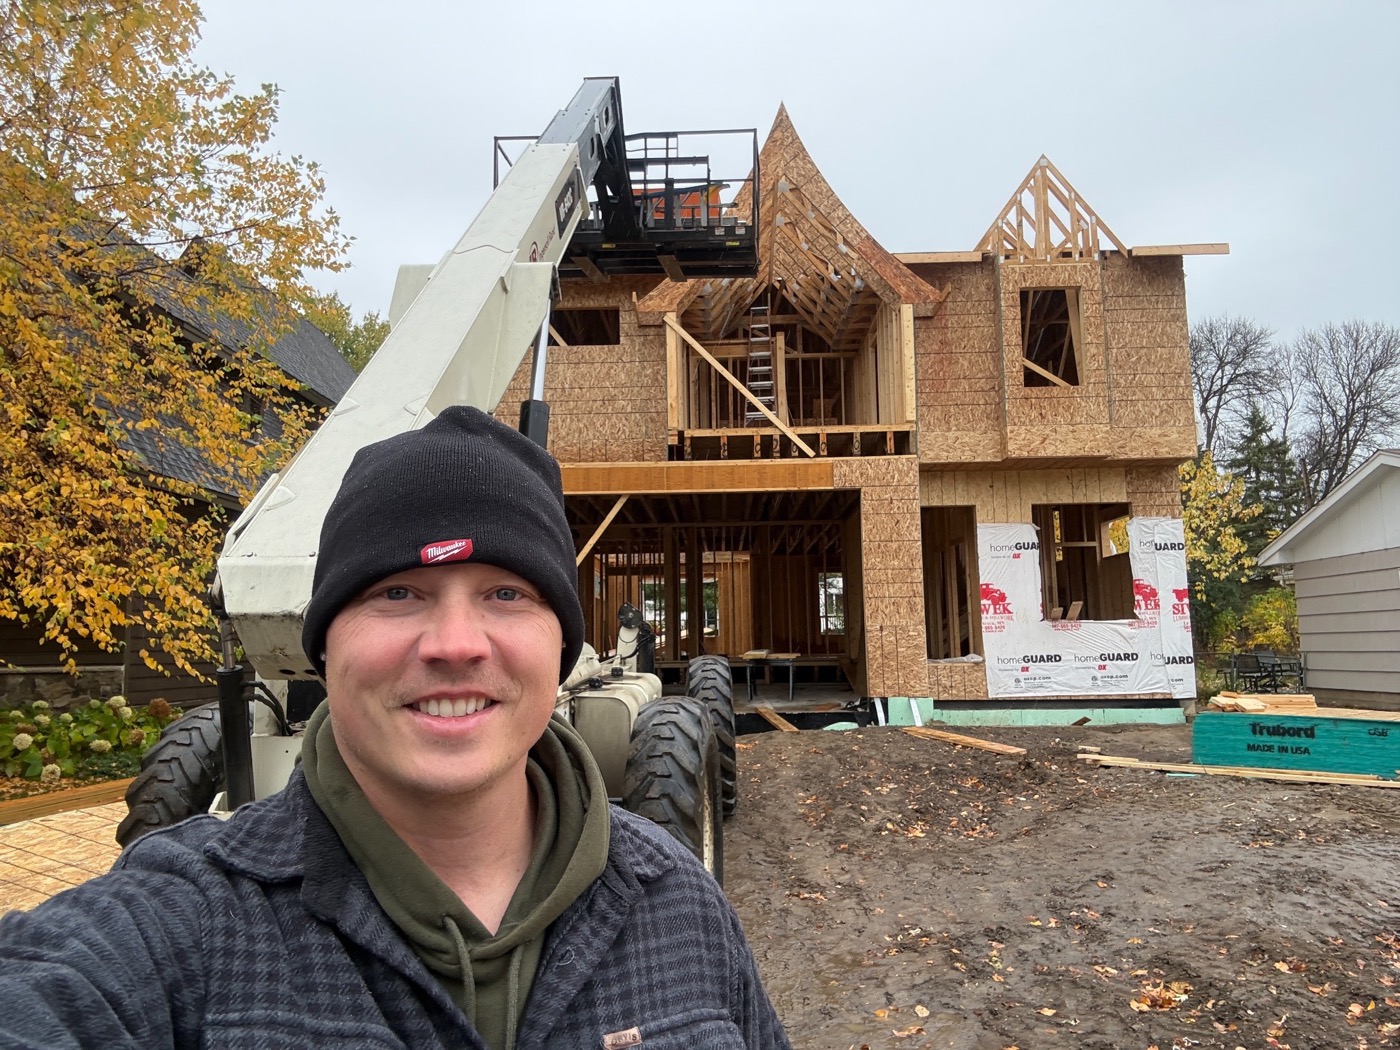
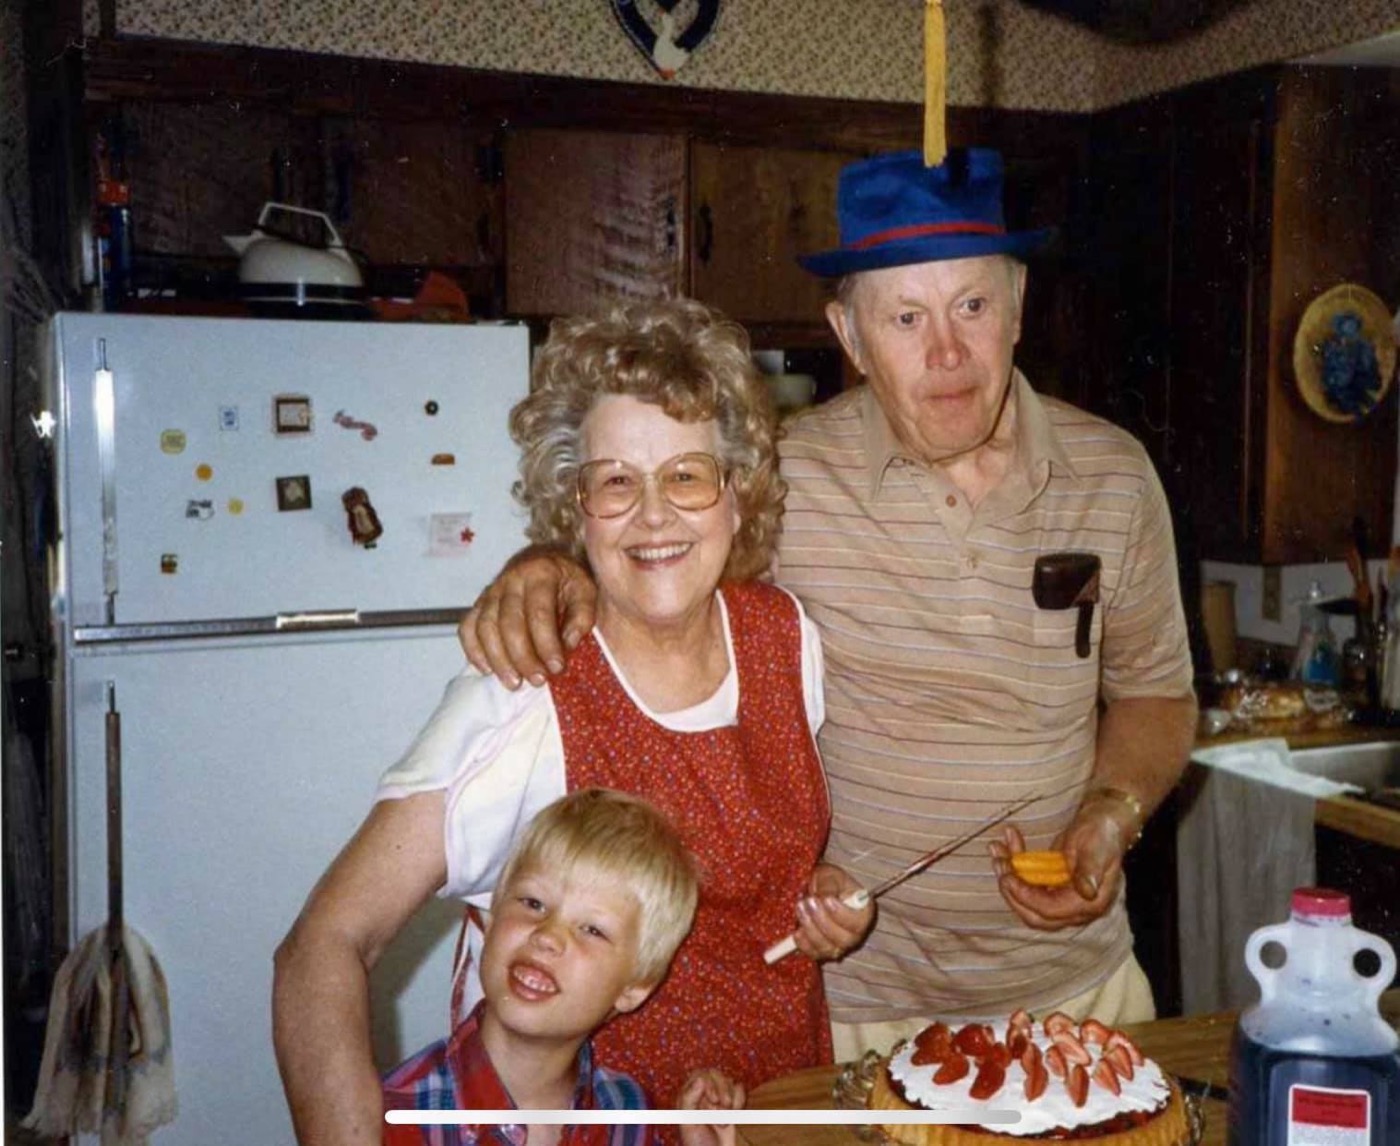
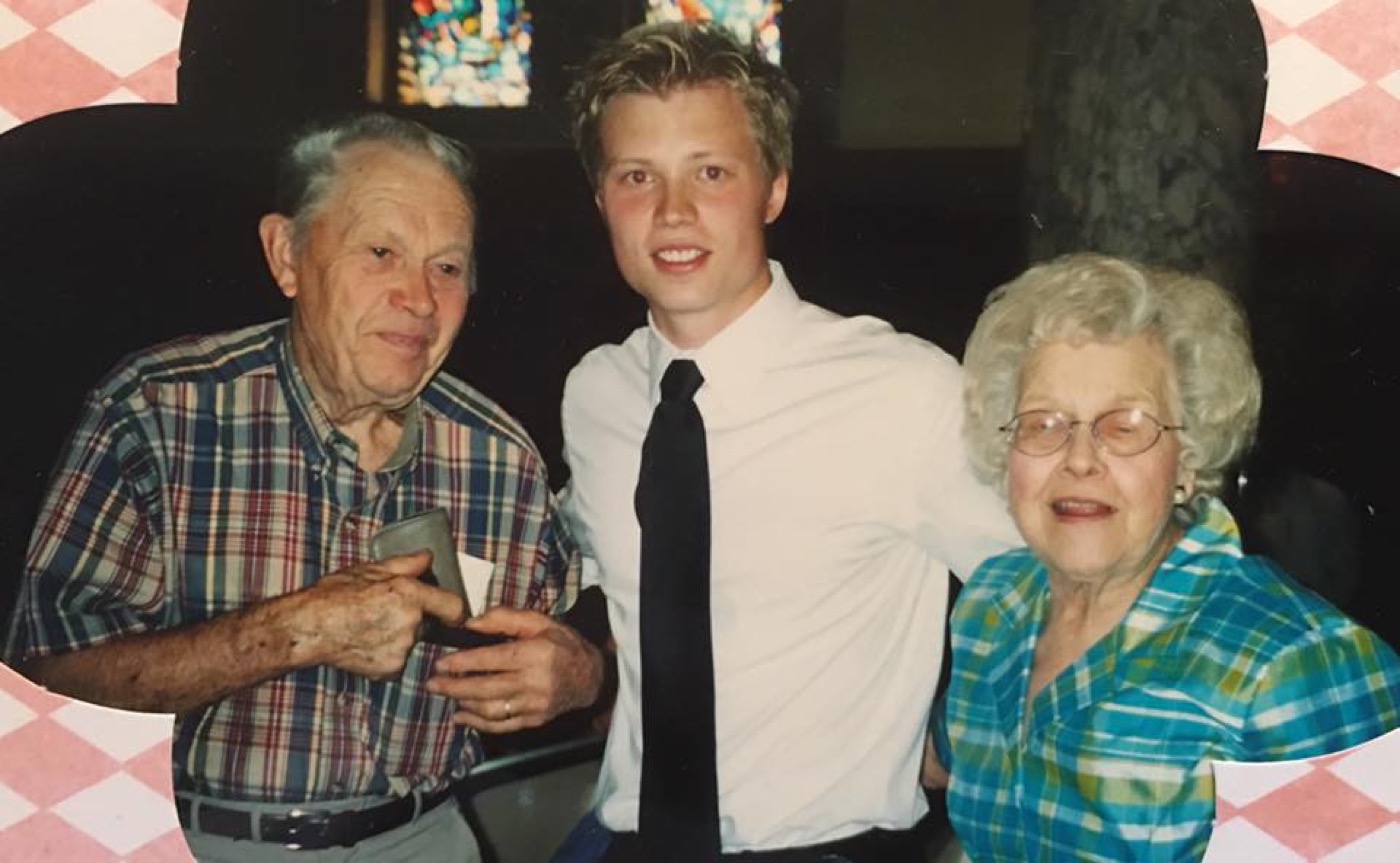
Now my work is building homes. There is labor in every stage, skill in the details, and a relationship behind every project. Materials become a home through the people who work with them.
That is why this history belongs here, alongside the story of Timberline’s work today. It puts people behind the name: Gustaf serving his community and providing for his daughters; Adina growing up in another family’s care; Bernie making a living with his hands and leaving an example for his grandson.
Our family remembers Gustaf at the mill. I remember Bernie finishing floors. Today, I build homes.
Wood runs through the story. So do work, faith, and care for other people. That is the line I carry forward in Timberline.
Photo sources: Family and project photographs supplied by David Olson. Pine Tree mill slide: Morrison County Historical Society, Little Falls Mississippi River Industrial Complex (2003), p. 19. Logjam panorama, 1894: matching photograph held by the Minnesota Historical Society, HD5.44 pan 1. Other historical copies supplied by David Olson; original photographers unconfirmed.
Contact
Builders and homeowners: tell us about the project and we'll get back to you.
Email your plans or prepare an inquiry below. Nothing is sent or saved by this website.
Opens your email app. Attach your plans there, then review and send.
Services
Tell us what is being built, what is changing and which plans are ready for review.
Discuss the wall, floor and roof framing scope, the current structural drawings, delivery needs and coordination with the rest of the project.
Existing conditions and transitions deserve early attention. Share what is staying, what is changing and which design questions are still open.
Commercial and residential inquiries are welcome for scope review. Specific services, contracting arrangements, availability and project requirements must be confirmed for your work.
Confirm the current plans, key dimensions and intended openings before the frame takes shape.
Coordinate members, connections and trade routes with the project’s drawings and product requirements.
Review alignment, unresolved details and required inspections before the work is covered.
Clarify remaining items, access and readiness so the following trades know what comes next.
For builders
Bring the current drawings, the scope boundaries and the schedule questions. A useful handoff starts before the first delivery.
Window and door openings affect installation. Service routes affect mechanical, electrical and plumbing work. Alignment and enclosure readiness affect insulation and finishes. Resolve conflicts through the appropriate project professionals rather than changing structural members to make something fit.
Confirm the current plans, key dimensions and intended openings before the frame takes shape.
Coordinate members, connections and trade routes with the project’s drawings and product requirements.
Review alignment, unresolved details and required inspections before the work is covered.
Clarify remaining items, access and readiness so the following trades know what comes next.
One-page planning tool
A conversation checklist for plans, materials, access and handoff. It is not an inspection record or engineering approval.
Download the builder checklist · PDFFor homeowners
Your rooms, roofline and future finishes start with decisions you may never see once the walls close.
The frame follows a structural plan. Members, supports, bracing and connections work together. A larger opening or moved wall can affect more than the space in front of you.
Correctly coordinated openings help windows and doors fit. Clear routes help the service trades. Drying and enclosure readiness matter before insulation and drywall hide the work.
Expect deliveries, equipment, cutting and changing work areas. Arrange any visit with the project lead. Stay outside active work zones and keep children and pets away from the site. Weather, deliveries and unresolved design questions can change the sequence; ask for an updated plan rather than assuming a fixed duration.
Confirm the current plans, key dimensions and intended openings before the frame takes shape.
Coordinate members, connections and trade routes with the project’s drawings and product requirements.
Review alignment, unresolved details and required inspections before the work is covered.
Clarify remaining items, access and readiness so the following trades know what comes next.
Take it to your next conversation
A one-page guide to access, questions and the next stage of work.
Download the framing-day guide · PDFFor remodelers
Additions, second stories and reworked floor plans start with what is already there. Bring the drawings, what has been opened up so far and the schedule you are working toward.
Existing framing is rarely perfectly plumb, level or square. New walls, floors and roof lines have to meet it cleanly, carry loads the way the drawings show and leave openings sized for the windows and doors that were ordered. When something does not line up, the question goes back to the designer or engineer rather than around them.
Walk the existing structure against the plans and note conditions that need an answer first.
Follow the drawings for temporary shoring, beams and posts before load paths change.
Build additions, openings and reconfigured walls to the current plans and product requirements.
Confirm openings, inspections and remaining items so finishes can move forward.
One-page planning tool
A conversation checklist for plans, materials, access and handoff. It is not an inspection record or engineering approval.
Download the checklist · PDFFor developers
Multi-home phases, townhomes and commercial wood-frame projects depend on sequence. Bring the plan set, the phasing and the milestones the frame needs to meet.
Repeating a plan well means the same layout, connections and openings every time, and catching plan changes before they reach the field. Snow loads, raised-heel trusses and wall bracing are settled in the drawings; framing follows them and raises questions through the project team.
Review the plan set, phasing and site logistics before the first start.
Coordinate deliveries and material protection so each start has what it needs.
Frame each building or unit to the current drawings and product requirements.
Close out open items and inspections so the next trades can follow on schedule.
One-page planning tool
A conversation checklist for plans, materials, access and handoff. It is not an inspection record or engineering approval.
Download the checklist · PDF