
Inspections & Walkthroughs
Before Drywall: A Homeowner Walkthrough Worth Doing
Use a focused homeowner walkthrough to confirm framing layout, backing, changes, moisture questions, and records before Minnesota walls are closed.
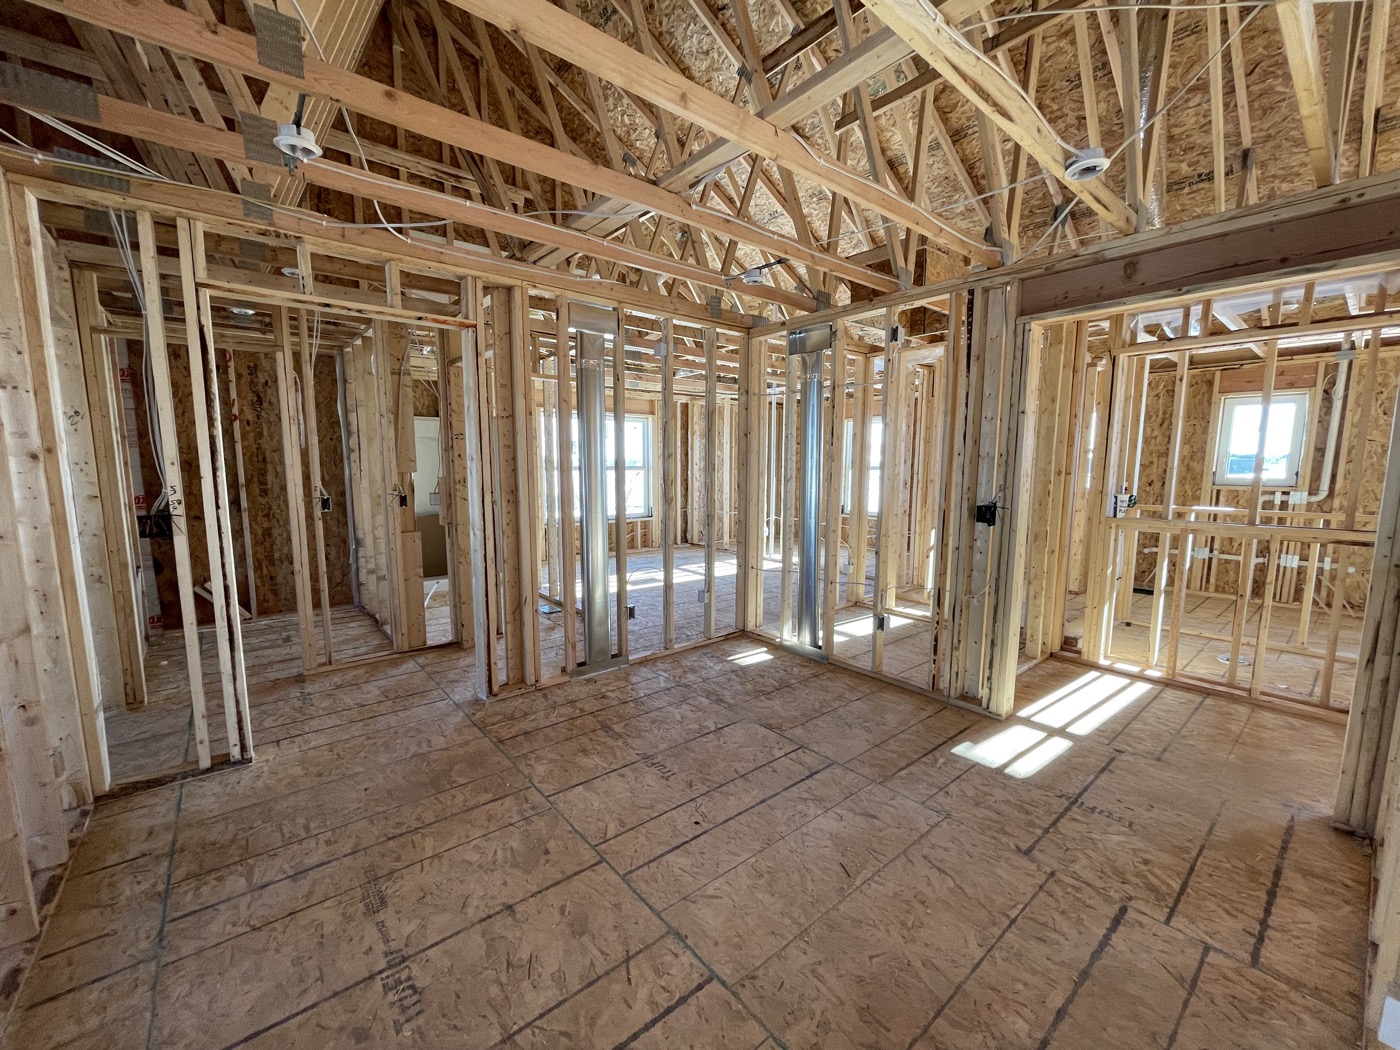
Before drywall, you get an unusually honest view of a house. You can see where rooms begin, where a beam changes the ceiling, and where the future towel bar has nothing behind it but optimism.
A planned walkthrough is a good opportunity to compare the visible work with the decisions you made. It is not a substitute for required inspections, and it should not become a surprise redesign meeting. Its best use is catching misunderstandings while they are still accessible.
Arrange the visit with the project lead
A construction site is an active workplace, not an open house. Schedule the visit, follow the crew’s access and protective-equipment instructions, and stay out of areas that are not ready for visitors. Bring the current plans, the relevant selections, and a short list of questions.
Ask for the person who can record decisions and assign action items to walk with you. A concern mentioned casually to whichever trade happens to be nearby can be lost in the shuffle. You want one list that reaches the people responsible for the work.
Choose a time that leaves room to resolve questions before concealment, while recognizing that some features may not yet be complete. Ask what you should expect to see and what is intentionally scheduled for later.
Walk the house as you plan to use it
Move room by room rather than bouncing between favorite features. Compare door locations and swing intentions, circulation paths, stair openings, and major room relationships with the plan.
Remember that you are looking at framing dimensions. Drywall, tile, trim, cabinetry, and other finishes will change what is visible and how clearances feel. If a space seems too tight, ask the team to check the finished condition on the drawings instead of measuring between bare studs and calling it done.
Bring actual information for items that matter: an appliance specification, a cabinet layout, or the dimensions of a selected built-in. A rough memory that something is “about this wide” gets less useful every time another layer is added.
Confirm backing and attachment locations
Backing provides a planned attachment surface for items that need it. Discuss the locations and requirements of handrails, wall-mounted cabinets, bathroom accessories, televisions, shelving, and other agreed fixtures with the project team.
This is also a useful time to discuss future needs, such as possible grab bars. The design and required support depend on the intended installation; a random block behind the drywall is not a universal mounting solution.
Ask which backing is already included, which items require a decision now, and how any added work will be approved. Record locations with enough detail that the finish installer can find them later.
Look for unresolved coordination questions
You do not need to inspect every connector. Instead, ask the project lead whether any structural repair, product substitution, altered opening, or trade penetration is awaiting review. If a pipe or duct has driven a framing change, request the accepted resolution rather than a verbal assurance that it is probably fine.
Ask about the air-barrier details that will soon become inaccessible and whether any moisture concerns remain open. A stained spot, wet corner, or unfinished sealing transition should have a documented disposition before it disappears. The useful answer describes the correction or evaluation, the responsible party, and the release condition for covering it.
Separate preference changes from corrections
A door framed differently from the approved plan is one kind of issue. Deciding during the walkthrough that you now prefer the door elsewhere is another. Both deserve a clear response, but they may have different design, cost, and schedule consequences.
Use a simple list with four headings: location, question, responsible person, and resolution. Mark whether each item is a correction, a requested change, or information only. Get price and scope implications of new requests through the normal change process before work begins.
That organization keeps a sensible walkthrough from turning into twenty unrelated conversations and one very confused carpenter.
Save a useful record, then close the loop
With permission and safe access, take labeled photos of open walls and agreed backing locations. Include room names and orientation. Photos can help later, but they are not an accurate utility map or permission to drill without checking for concealed services.
Keep the current plans, accepted changes, inspection results, and product or repair documentation with the project records. Ask who confirms that walkthrough items are complete and which required approvals must be obtained before the next layer goes on.
The best pre-drywall visit ends with a shorter list of unknowns. You leave knowing what is correct, what needs attention, who owns it, and how you will know it is resolved. That is more valuable than a hundred unlabeled photos of studs.
Sources behind this guide
- Minnesota Rules, part 1300.0210: Inspections, current official text reviewed October 2026.
- Minnesota Department of Labor and Industry: Residential New Construction Inspection Guide, educational checklist.
- Building America Solution Center: Air Sealing Drywall to Top Plate, web guidance.
- Weyerhaeuser: EWP and OSB Exposed to Moisture During Construction Delays, April 7, 2020.