
Good framing versus bad framing in a Minnesota home
Published October 29, 2026 · Reviewed October 28, 2026
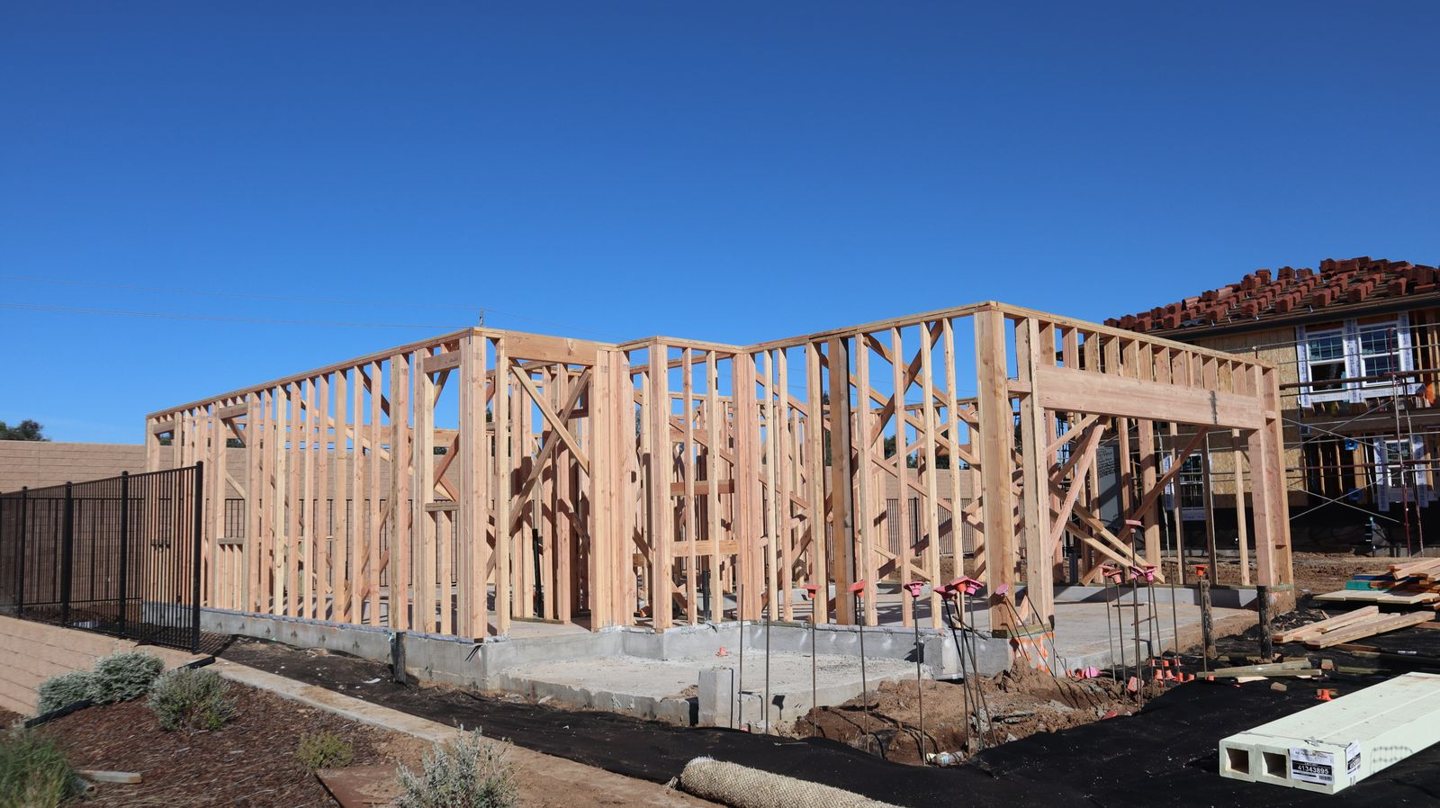
A clean stack of lumber and straight-looking walls make a good first impression. They do not tell the whole story. Framing quality is easier to judge when you compare the work with the plans, look closely at connections, and check the details that the next trade will cover.
A homeowner’s walkthrough can surface useful questions. It cannot certify structural capacity or replace the required inspections. Arrange access with the builder, stay out of active work areas, and use photographs to document a question rather than announce a verdict.
Start with the right plans
Good framing follows the current approved plans and documented changes. The crew should not be working from an old window schedule while the supplier fabricates a newer opening size.
At a walkthrough, ask which drawing revision is current. Compare major openings, bearing walls, beams, posts, and stair locations with that set. If a detail has changed, ask where the approval is recorded and whether the affected trades received it.
For residential work within its scope, the 2020 Minnesota Residential Code remains the adopted baseline as of October 28, 2026. Its requirements work alongside Minnesota amendments, approved engineering, and product instructions. A confident verbal answer is useful; a traceable detail is better.
Look for supported loads
A beam needs the specified support at its ends. A post needs something capable of carrying its load below. A header over a wide opening needs the correct members and end support, not simply enough pieces to look substantial.
Minnesota DLI’s inspection guidance calls out load path, bearing, and member size under R301.1, R502.6, and R602.7. Ask the builder to show how a major load reaches the foundation. Pay particular attention where a wall or post sits over another floor rather than directly over the foundation.
Missing bearing, an unexplained offset, or a field-built substitution deserves review. Do not add shims, studs, or fasteners yourself. The correction needs to suit the actual load and assembly.
Read the lumber instead of judging its color
A framing member’s suitability depends on its specified size, species, grade, condition, and use. A knot does not automatically make lumber unsuitable. A board that looks clear does not automatically have the grade or strength required for a beam.
The American Softwood Lumber Standard explains the information carried by a grade mark: the producer, grading agency, species or species group, grade, and manufacturing moisture designation. Match the delivered material to the design instead of relying on appearance alone.
The current PS 20-25 publication is useful background on this marking system. It is not a claim that Minnesota has adopted every provision of that newest standard. The edition referenced by the applicable code and the project specifications still needs to be respected.
Check the surfaces the next trades depend on
Wall alignment, consistent opening dimensions, and properly installed subflooring affect the work that follows. Ask how the builder checks plumb, level, square, and straightness before windows, cabinets, and finishes arrive. Avoid treating a casual eyeball check as a measurement.
Sheathing deserves its own review. Panel type, rating, orientation, support, and fastening must match the application. APA generally recommends a one-eighth-inch gap at panel edges and ends unless the manufacturer specifies otherwise. That is product-installation guidance, not a universal rule that every visible gap proves a defect.
Flag missed framing, damaged panel edges, or heavily overdriven fasteners for review. The correct repair depends on the assembly and damage; random extra nails can create new problems.
Inspect again after rough-in
A frame can change after the framing crew leaves. Plumbing, electrical, and mechanical work introduce holes, notches, and penetrations. Minnesota DLI identifies R502.8 and R602.6 for cutting and boring checks.
Solid-sawn lumber, I-joists, laminated beams, and trusses do not share one set of cutting rules. Engineered products require their own instructions and, where necessary, a reviewed repair. Roof truss alterations fall under R802.10.4.
Ask for a second look before concealment, especially around large plumbing runs, stair openings, and heavily used mechanical routes. This is also the time to coordinate required fireblocking and restore interrupted air-barrier details.
Make dryness a measured decision
Rain during construction is not, by itself, proof that framing must be replaced. Covering damp materials without checking them is a different matter.
The U.S. Department of Energy’s Building America guidance recommends checking framing, sheathing, and insulation before enclosure and using moisture measurements rather than surface appearance alone. Agree on the applicable acceptance criteria and any manufacturer requirements with the project team. A moisture designation on a lumber stamp describes an earlier manufacturing condition, not necessarily the wood’s condition today.
Close the correction list before covering it
A useful quality record identifies the location, concern, responsible person, required review, and evidence that the correction was completed. Keep approved engineered repairs with the project documents. Confirm required inspection acceptance before work is concealed.
Good framing is visible in that follow-through: the right materials, supported loads, coordinated details, and resolved questions. Read our fastener guide for another common inspection issue, or contact Timberline Framing about your upcoming framing project. Our Story is a good place to learn more about the company before you reach out.