
Roof & Structure
Raised-Heel Trusses: What Needs to Be Settled Before Ordering
Planning raised-heel trusses in Minnesota? Understand drawings, insulation clearance, connections and roof-edge details before the truss order is released.
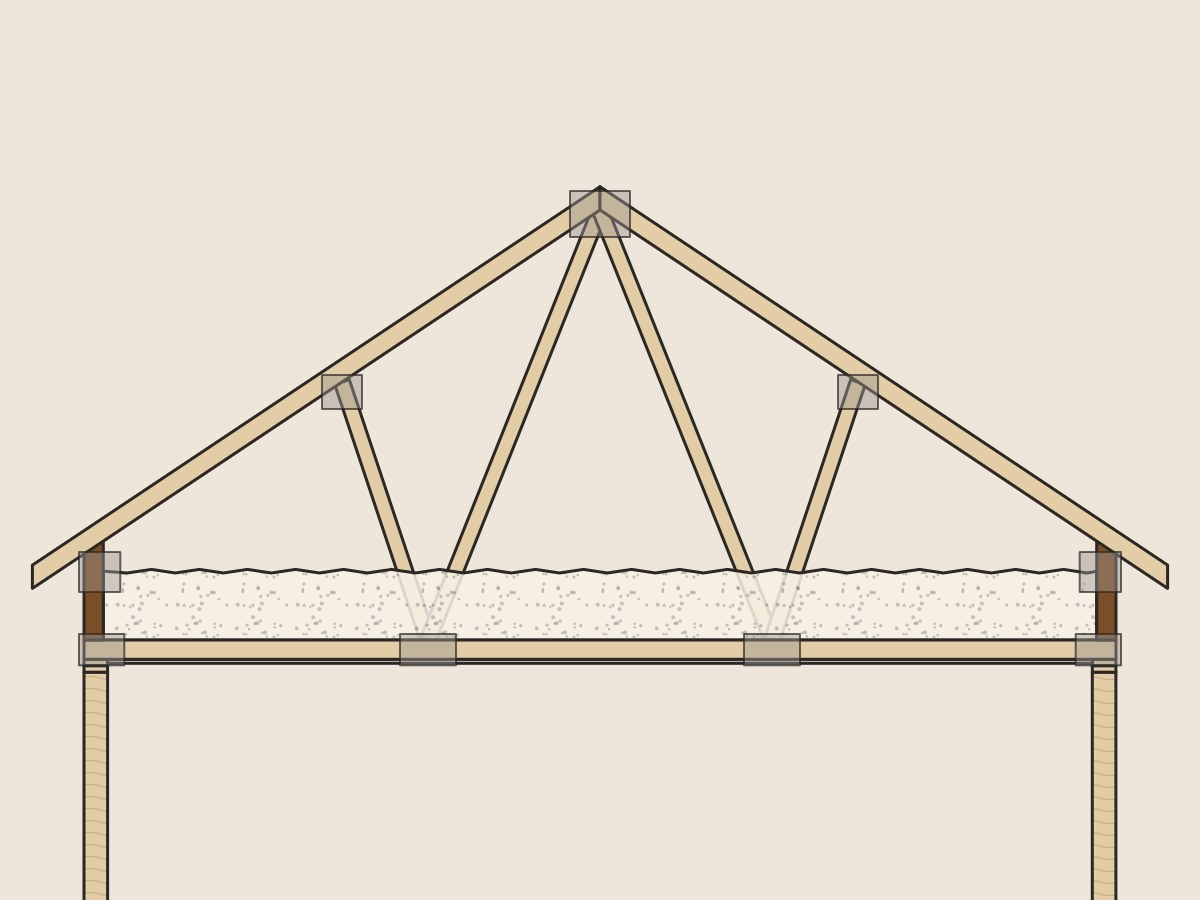
Once a homeowner decides a raised heel makes sense, the next question is usually, “How tall should it be?” That sounds like a simple measurement. In practice, it is the result of several decisions agreeing with one another.
This article covers the design and construction coordination. Our companion article on raised heels covers comfort and insulation. Same roof corner, different job description.
A raised heel belongs to a complete truss design
A roof truss is a manufactured structural component. Its shape, lumber, connector plates and support conditions work together. Raising the heel changes the geometry at the bearing end; it is not a field instruction to prop up an ordinary truss on some extra lumber.
The building designer and truss supplier need compatible information about roof shape, bearing locations, loads and intended use. The framer then needs the corresponding placement information, connection details and approved documents. A label that says “energy heel” is useful shorthand, but it does not replace that information.
For a Minnesota project, roof design also needs the applicable site-specific snow criteria. A heel selected to fit insulation does not by itself establish the roof’s snow capacity. Those are different questions that belong in the same coordinated package.
Set the insulation assembly first
The space required at the eave depends on the selected insulation and the roof assembly. In a vented attic, the design must account for both insulation space and the ventilation path. An unvented assembly has different control-layer details. Neither should be improvised after the roof is enclosed.
Ask the designer to show the required clearance at the exterior wall, not just a heel-height number on a truss order. Measurement conventions and the exact truss shape can matter. The useful result is an assembly that fits, not two drawings with the same number and different assumptions.
This is also the time to settle whether mechanical equipment, storage or a future finished space is expected in the attic. A homeowner’s intended use needs to reach the designer. An empty-looking space between truss members is not permission to add a floor later.
Follow the connection down to the wall
The roof must transfer forces to the supporting walls. A taller heel creates a connection region that needs attention to lateral restraint and uplift as well as gravity support.
APA describes systems in which continuous wood structural panel sheathing extends up over raised truss heels and participates in that connection. Those systems have conditions and limitations. They do not mean that any sheet of OSB, attached any convenient way, eliminates every block or metal connector.
For a customer, the right request is simple: “Show me the roof-to-wall detail being used on this project.” The answer should identify the specified sheathing, connections and any blocking or bracing. If the supplier’s truss detail and the building plans appear to disagree, resolve the difference before installation rather than collecting competing opinions on the jobsite.
Look at the outside, too
Raised heels are mostly discussed as an energy detail, but the exterior does not disappear. Fascia depth, soffit elevation, siding height and overhang proportions should still look intentional. At an addition, the relationship to an existing eave can be especially important.
Ask for the elevation and section together. A pleasing roofline in an elevation may hide a tight insulation space in section; a generous section may create an exterior transition nobody intended. Seeing both is less expensive than discovering the mismatch after the roof is in the air.
Divide the work before it becomes a gap
The truss supplier, framing crew, roofer, insulation contractor and air-sealing installer do different work. Clarify who provides the truss package, who verifies release information, who installs permanent bracing, and who handles baffles and insulation dams. Clarify who checks completed transitions before concealment.
Delivery and lifting access belong in the conversation as well. A well-designed roof package still needs a safe, workable installation plan. Customers should coordinate site visits rather than walking through an active truss-setting operation.
Your pre-order checklist
- Roof geometry and exterior appearance are settled.
- Bearing locations and site design criteria agree across the documents.
- Insulation and ventilation details fit at the eave.
- The roof-to-wall connection is identified, not assumed.
- Attic use and mechanical needs are communicated.
- The correct drawing revision is approved for fabrication.
The goal is not to make trusses complicated. It is to settle the complicated parts while they are still lines on paper. Lumber is cooperative, but it has never been especially good at reading minds.
Sources behind this guide
- Raised-Heel Trusses for Efficient, Cost-Effective, Comfortable Homes — APA Form R330; catalog says issued March 2016, Last Revised April 1, 2016
- Attic Eave Minimum Insulation — U.S. DOE Building America Solution Center, web guidance accessed October 26, 2026
- APA System Report 103: Use of Wood Structural Panels for Energy-Heel Trusses — APA SR-103, April 2014 (official catalog)