
Cold-Climate Performance
Rain on the Framing: What Needs to Dry Before the Walls Close
Rain or snow on Minnesota framing? Learn what to document, how drying is checked, and what to resolve before insulation and drywall cover the wood.
Rain lands on a framed house before the roof is finished. A snow squall finds the floor deck. Your first reaction may be, “That is the inside of my future house getting wet.” Fair question. The answer is neither “all wood is ruined” nor “wood gets wet, forget about it.” The useful question is what got wet, how long it stayed wet, and how the team will establish that it is ready for the next step.
Minnesota makes that question worth asking. A sunny afternoon after a storm does not tell you what is happening in a shaded corner or underneath a pile of materials.
Start with the product and the exposure
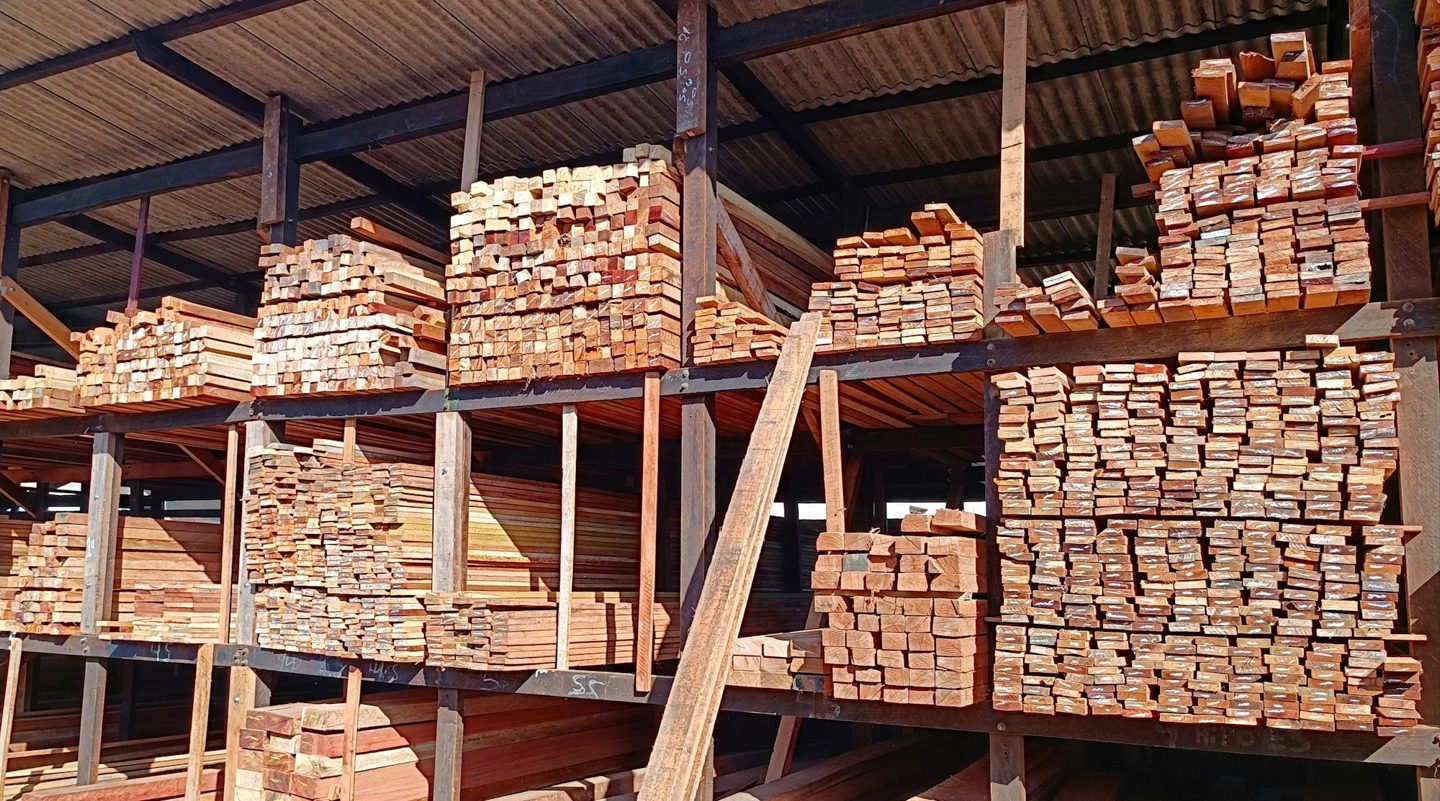
Framing lumber, plywood, OSB, I-joists, and engineered beams are different products. Their manufacturers may give different storage, exposure, and evaluation guidance. Identify the actual material before accepting a blanket answer about “wood.”
Temporary construction wetting is anticipated by many wood products. Prolonged exposure, trapped water, flooding, or a recurring leak deserves closer review. Weyerhaeuser, for example, distinguishes ordinary construction exposure from situations that can create significant problems, and calls for project-specific evaluation after prolonged exposure. That distinction is much more useful than counting rainy days alone.
Ask the project lead to record the affected areas and the water source. Was this a short rain before dry-in, or is water entering repeatedly at the same roof-to-wall intersection? The second situation needs a water-management correction, not just a fan.
Dry-in and dry wood are different milestones
“Dried in” generally describes protection of the building from weather. It does not, by itself, establish that every enclosed wood component is ready to be covered. A building can stop taking in rain while still holding construction moisture.
APA’s moisture guidance warns about trapping moisture within assemblies that cannot dry readily. Before insulation, membranes, coatings, or drywall limit access, the team needs a drying and acceptance plan suited to the materials and assembly. Putting the lid on a damp sandwich rarely improves lunch.
Ask who owns that decision. The framer may identify the condition; the general contractor may coordinate drying; a manufacturer or design professional may need to evaluate a product. One named person should keep the issue moving through to a documented resolution.
A moisture reading needs context
A moisture meter is useful, but a single number taken at a convenient spot is not a complete investigation. Ask what was measured, where, when, and with what method. The person taking readings should understand the meter’s instructions and the material being tested.
The moisture classification on a lumber stamp is historical information about manufacturing or surfacing conditions. It is not today’s jobsite reading. Likewise, a lumber grading limit is not automatically the acceptance limit for a particular flooring adhesive, coating, insulation system, or enclosed wall assembly.
Rather than requesting a universal percentage from the internet, request the applicable acceptance criteria and the measurements showing those criteria have been met. That gives everyone a shared finish line.
Appearance deserves attention, not guesswork
Swelling, uneven panel edges, staining, and changes in surface texture should be documented. They do not all mean the same thing. The crew may need to distinguish structural suitability from a surface that requires preparation before finish flooring.
Visible suspected mold, persistent odor, soft areas, or separating layers warrant evaluation rather than being hidden. A photograph can start the conversation, but it cannot establish the full condition of a member. Do not sand away or coat over evidence before the responsible professional has decided what it means and how to address it.
Your after-weather checklist
- Identify the products and rooms or elevations affected.
- Ask how standing water and continuing water entry will be addressed.
- Confirm a protection plan that still permits appropriate drying.
- Request the applicable manufacturer or project acceptance criteria.
- Ask for measurements or other evaluation records from representative areas, including the problem spots.
- Record any repair, replacement, or surface-preparation decision before the area disappears behind finishes.
If drying changes the sequence, ask what can proceed elsewhere without concealing the affected work. A useful schedule discussion includes the condition that releases the next task, not just a new calendar date.
The goal is a dry, suitable assembly and a clear record of how it got there. That is a better outcome than either panic over every raindrop or reassurance unsupported by a single measurement.
Sources behind this guide
- APA: Wood Moisture Content and the Importance of Drying in Wood Building Systems, Form TT-111, revised November 2016; publisher summary.
- APA: Questions About Wood Structural Panel Exposure to Excessive Moisture, Form X501, revised May 2021; publisher summary.
- Weyerhaeuser: EWP and OSB Exposed to Moisture During Construction Delays, April 7, 2020.
- Western Wood Products Association: Interpreting Grade Stamps, web guidance.